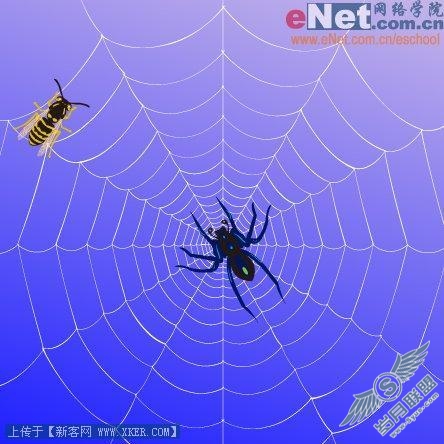
Illustrator 设计蜘蛛网的2种制作方法
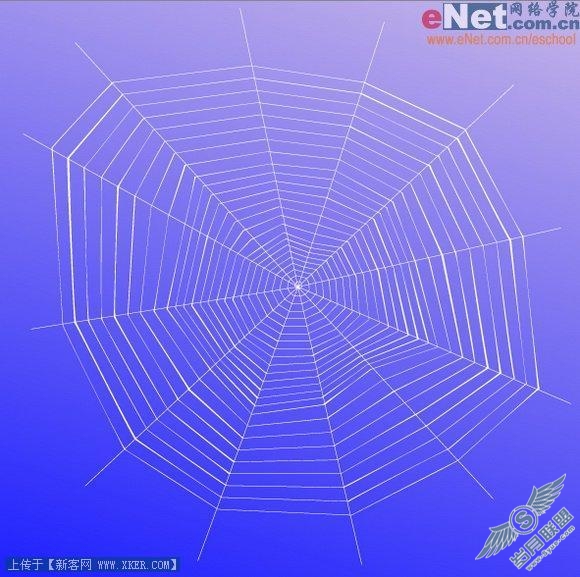
(1)第一种蛛网

(2)第二种蛛网

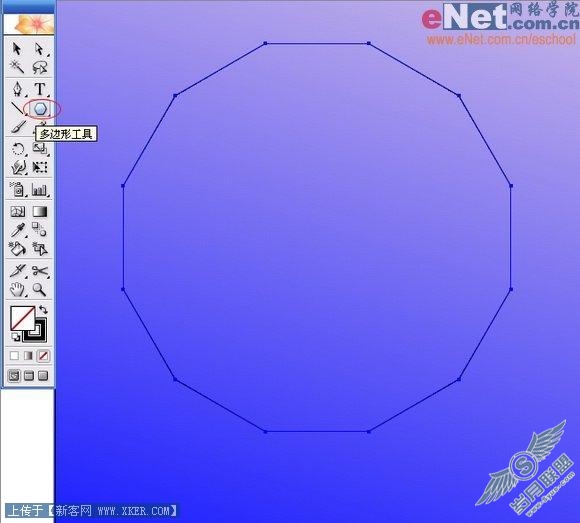
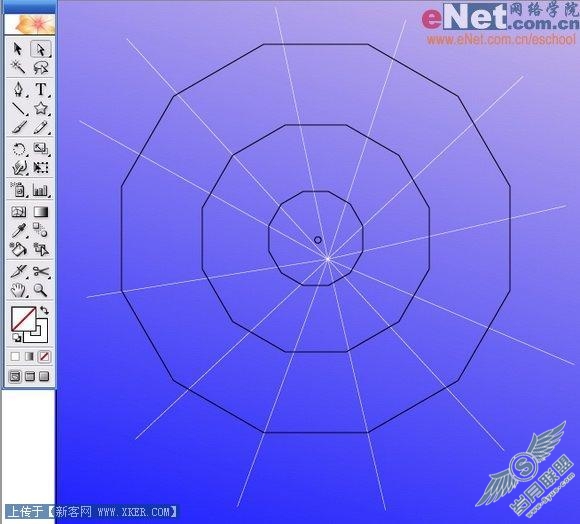
(3)首先来制作第一种蛛网,先在绘图区建立一个矩形作为背景,填入渐变色并将其锁定(菜单“对象>锁定>所选对象”)然后选择工具栏里的“多边形工具”(按住“矩形工具”按钮不放,在弹出的工具条里选择“多边形工具”)绘制一个大小适中的12边形(100mm左右)
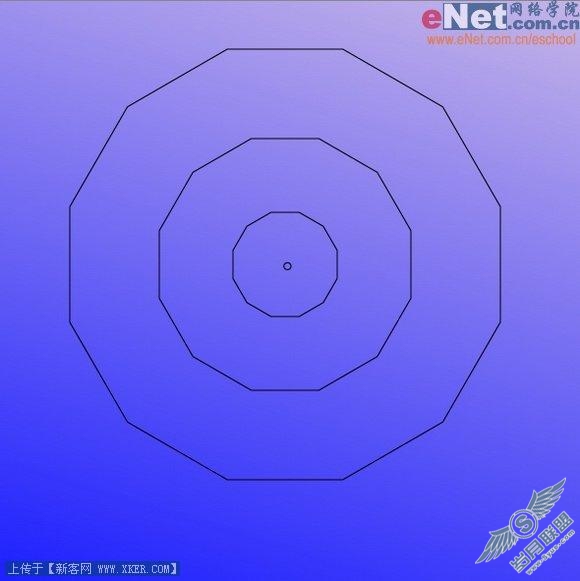
(4)再绘制同心的3个稍小的12边形,如图所示。
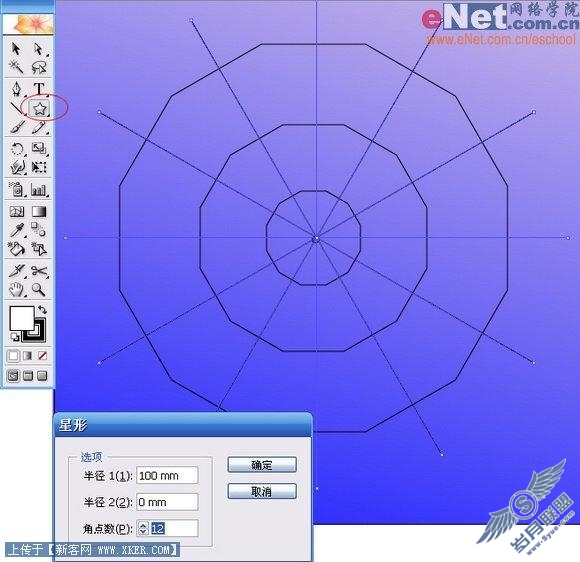
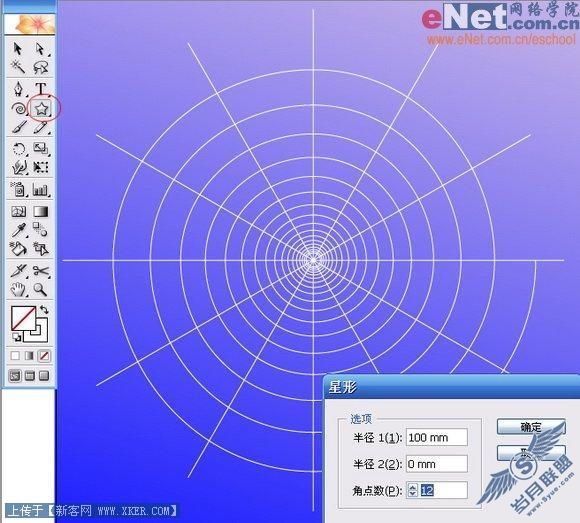
(5)如果您在绘制12边形的过程中遇到困难,那么您可以参考星形的绘制过程,在工具箱中选择“星形工具”在绘图区点击鼠标,在弹出的“星形对话框”中就可以轻松的设置您所需要的星形了,这里把半径1设为100mm左右,半径2设为0mm,角点数设为12,点击“确定”即可。
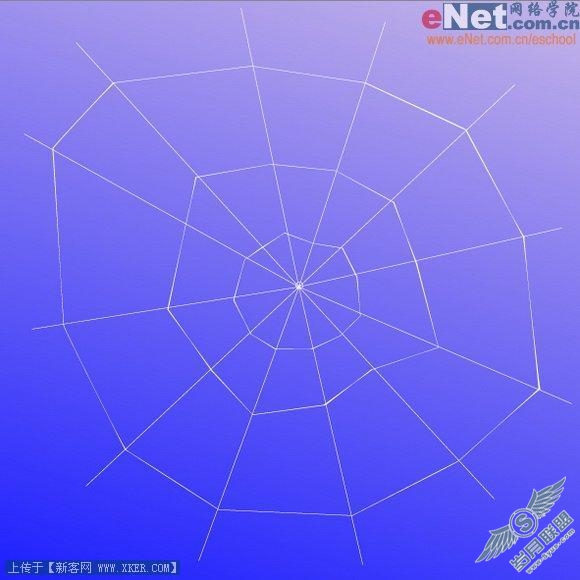
(6)将“星形”的填充色设为“无”描边色设为“白色”,描边粗细0.5pt左右即可,然后调整星形上的锚点使之变为不规则形状,调整完毕将星形锁定,星形就相当于蜘蛛网的“经线”。12变形相当于蜘蛛网的“纬线”。
(7) 以星形(经线)作为参考,将3个较大的12边形上的锚点调整位置,每个锚点都要落在经线上。将4个12边形的描边粗细设为0.25pt,然后选择菜单“对象>路径>轮廓化描边”,将填充色设为白色,描边色设为无。

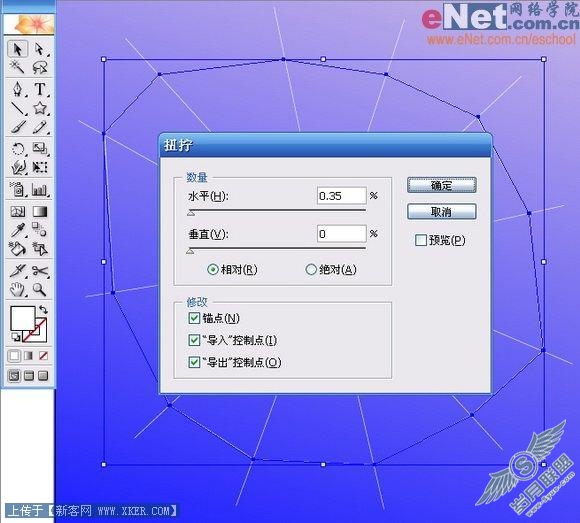
(8)在4个12变形(纬线)全部选择的情况下选择菜单“效果>扭曲和变换>扭拧”,弹出扭拧对话框,设置“水平”为0.35%,“垂直”设为0%,其余设置默认,点击确定。
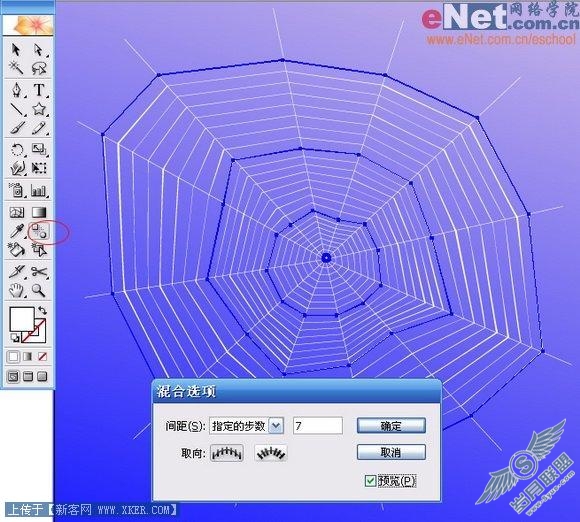
(10)在4个纬线选择的情况下,按下组合键“ctrl+alt+b”,或者用工具箱中的“混合工具”逐一顺次点击纬线,结果如图所示,产生了大量的纬线。
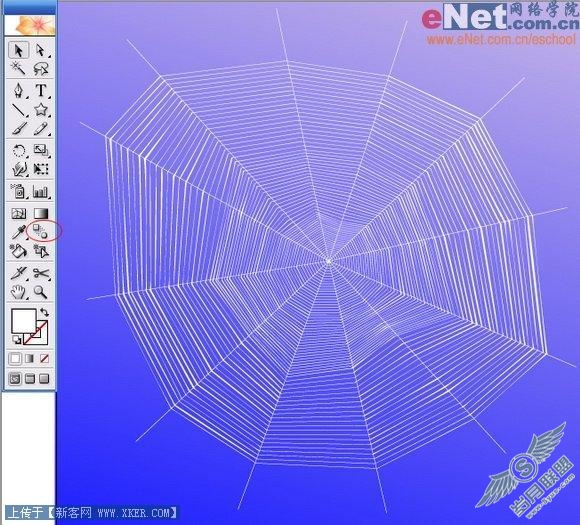
(11)多数蜘蛛网没有那么稠密,双击“混合工具”,在弹出的混合选项对话框中将“指定的步数”设为7左右。
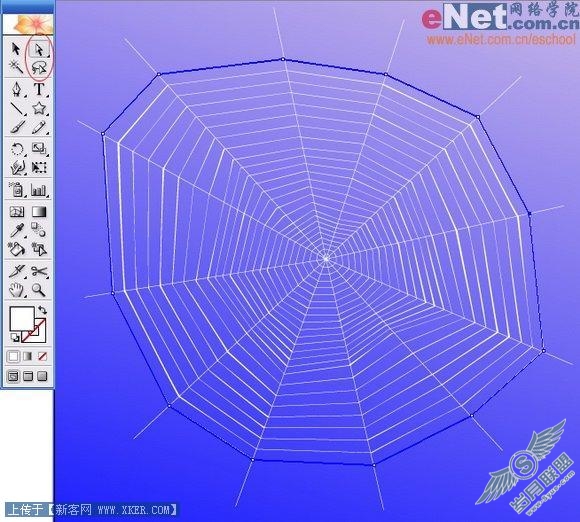
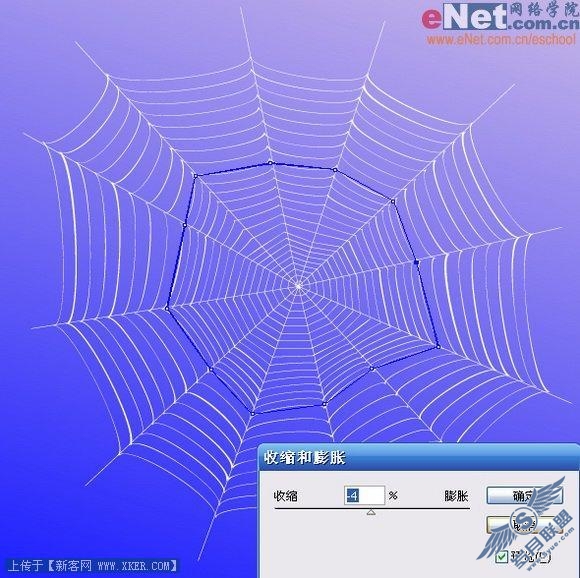
(13)选择菜单“效果>扭曲和变换>收缩和膨胀”,在收缩和膨胀对话框中设置参数为-4,点击确定。
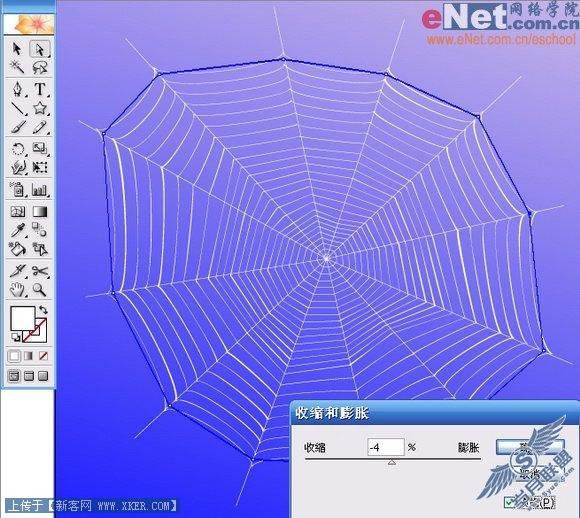
(14)同样方法将另一条纬线做同样处理。
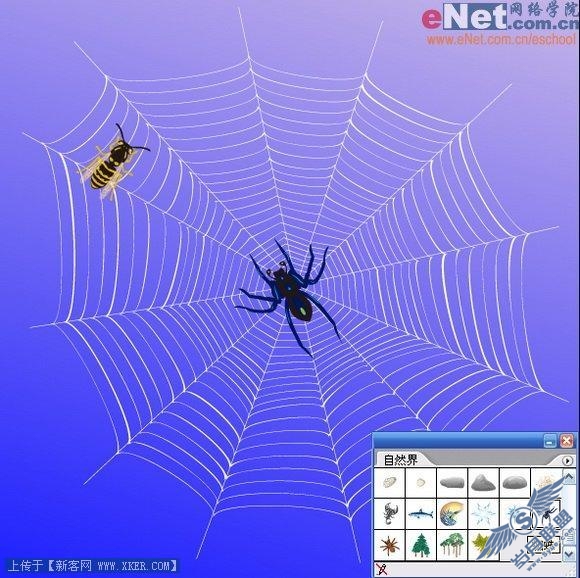
(15)选择菜单“窗口>符号库>自然界”,打开自然界面板,将蜘蛛和蜜蜂等昆虫拖入绘图区,适当变换蜘蛛和蜜蜂的旋转角度。
(17)第二种蜘蛛网的制作
蜘蛛在织网是先搭建经线,然后在经线上进行螺旋运动搭建纬线,所以第二种蜘蛛网的制作方法也比较符合实际。首先选择“螺旋线工具”在绘图区单击鼠标,在弹出的“螺旋线”对话框中设置参数,半径为90mm左右,衰减95%,段数70,其余默认,点击确定。

(18)选择“星形工具”绘制星形,参数半径1为100mm,半径2为0mm,角点数为12,点击确定。
(19)选择螺旋线和星形,在“路径查找器面板”中点击“轮廓按钮”并设置填充色为无,描边为白色。

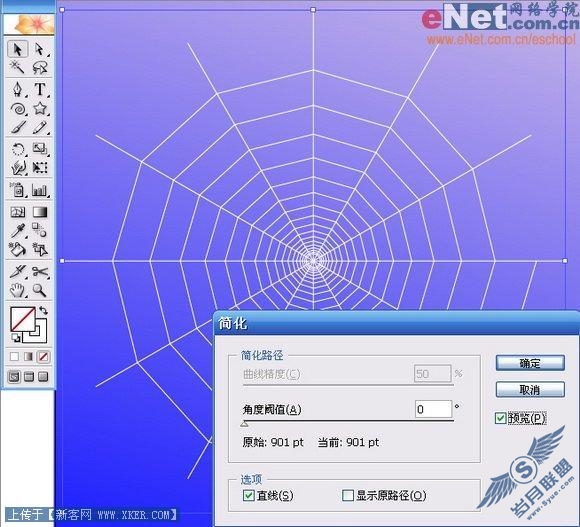
(19)选择螺旋线和星形,选择菜单“对象>路径>简化”,构选“直线”复选框,点击确定。
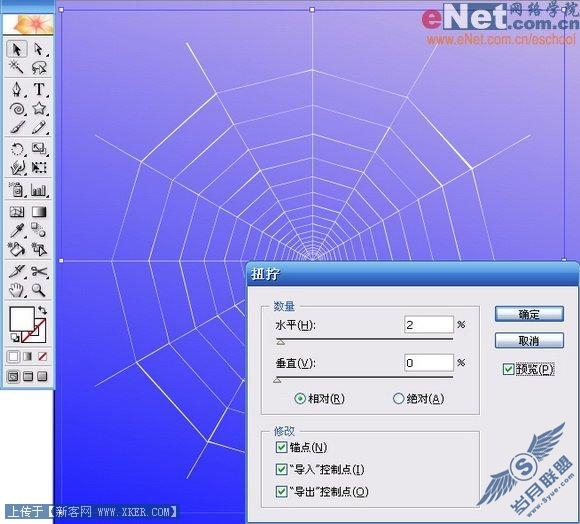
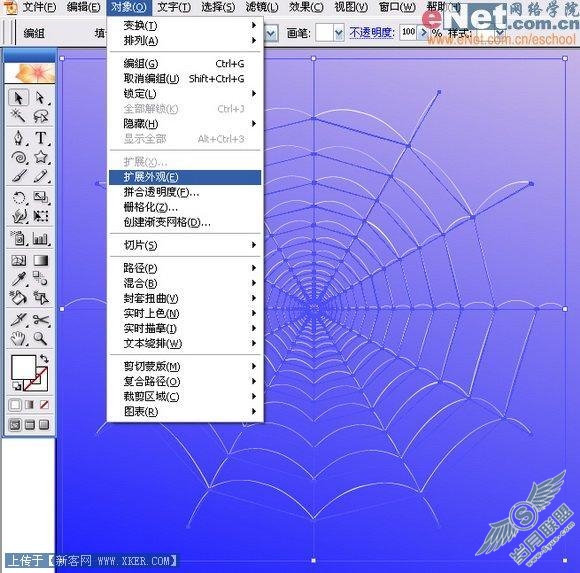
(20)将螺旋线和星形进行“轮廓化描边”,然后运用“扭拧”效果,设置参数“水平”为2%,“垂直”为0%,其余默认,点击确定。
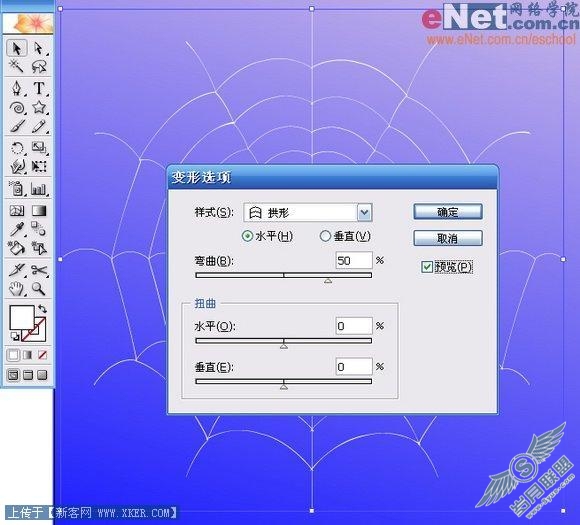
(21)鼠标右键点击,选择“取消编组”,然后选择菜单“效果>变形>拱形”,点击确定。
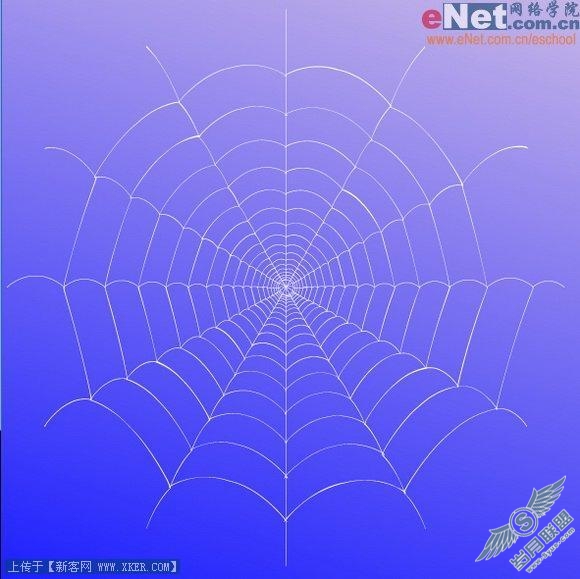
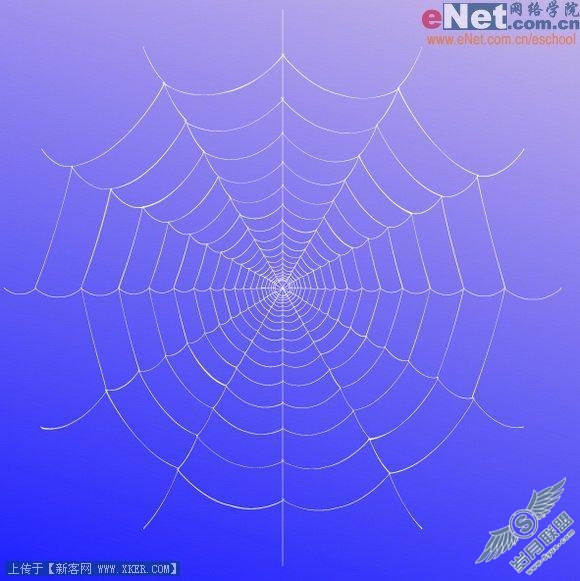
(22)效果如图
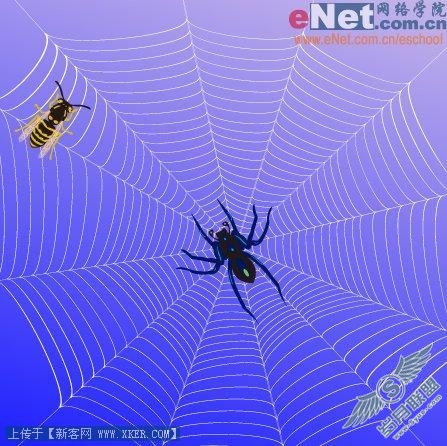
(24)将蜘蛛网旋转180度。
(25)加入蜘蛛、蜜蜂等小昆虫,方法同前。