用Photoshop打造非主流个性文字
来源:岁月联盟
时间:2008-05-05
制作工具:Photoshop CS
制作过程:
1、新建一个文件。在图层面板中新建图层1,设置前景色为白色,按Alt+Delete键对图层1填充白色。
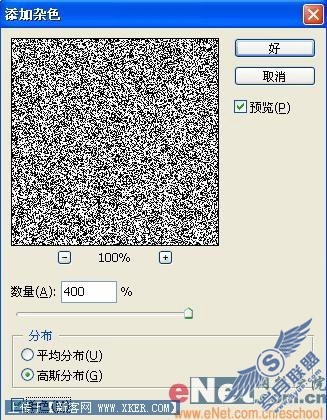
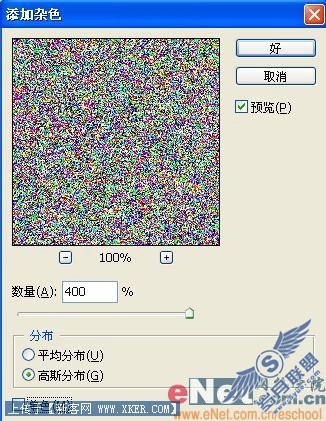
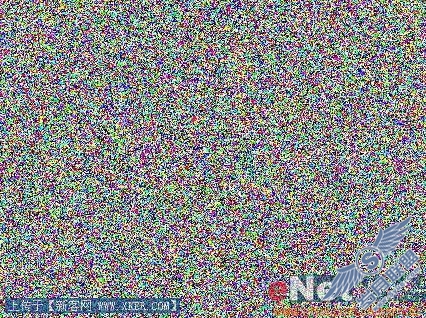
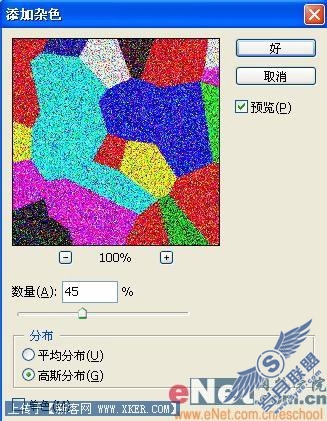
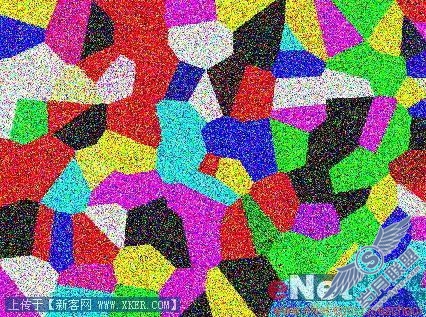
2、执行菜单栏中的“滤镜”“杂色”“添加杂色”命令,在弹出的对话框中设置参数如图01所示,图像效果如图02所示。

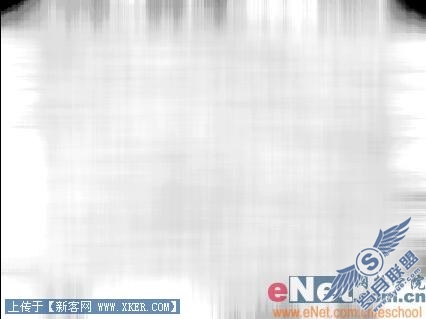
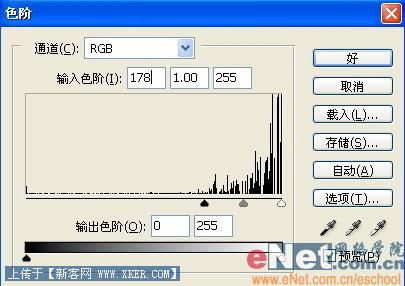
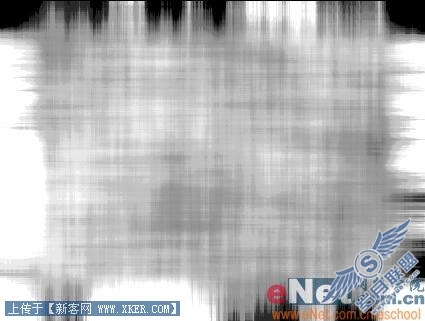
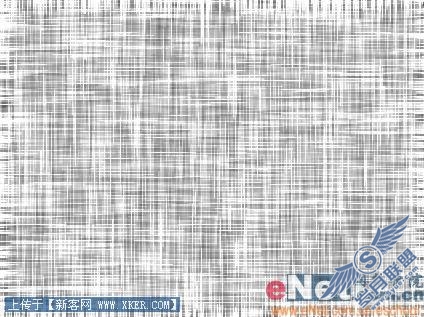
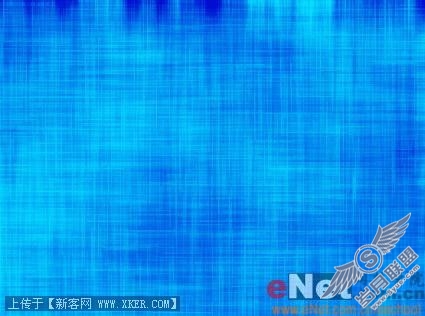
4、执行菜单栏中的“图像”“调整”“色阶”命令,在弹出的对话框中设置参数如图05所示,图像效果如图06所示。
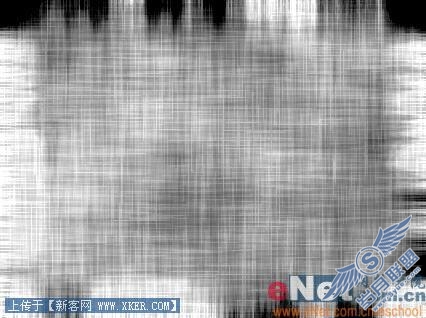
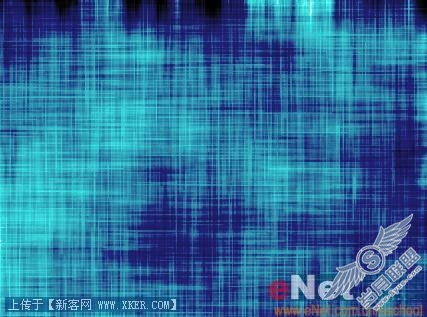
6、设置图层1副本的图层混合模式为“线性加深”,“填充”为40%,效果如图09所示。
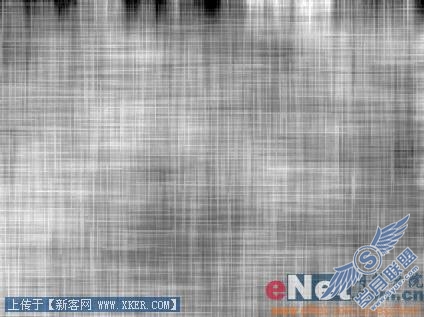
7、按住Ctrl键单击图层1机图层1副本,执行菜单栏中的“编辑”“自由变换”命令,按Shift和Alt键拖到图像将图像适当放大,效果如图10所示。
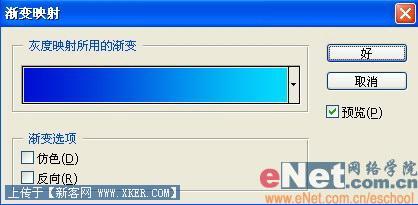
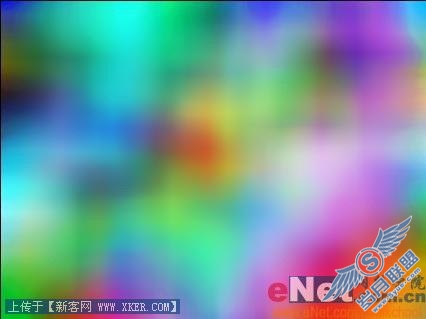
9、设置渐变映射图层的图层混合模式为“颜色加深”,“不透明度”为75%,图像效果如图13所示。
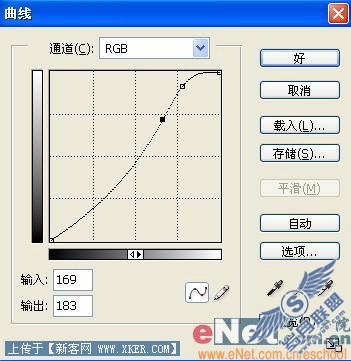
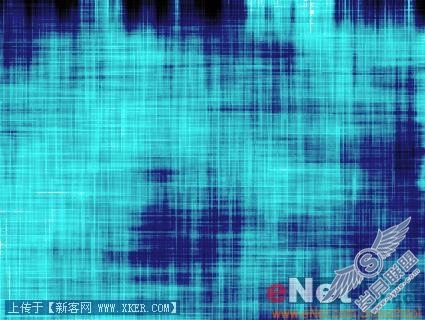
10、选择图层1,执行菜单栏中的“图像”“调整”“曲线”命令,在弹出的对话框中设置各项参数,如图14所示,图像效果如图15所示。
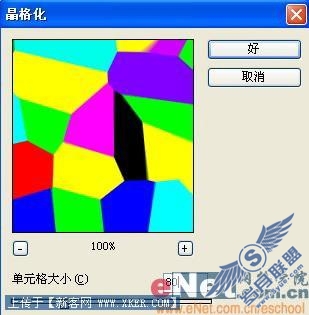
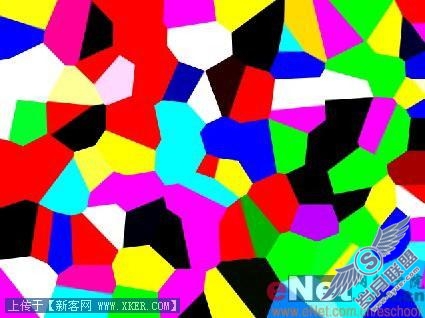
12、执行菜单栏中的“滤镜”“像素化”“晶格化”命令,在弹出的对话框中设置参数如图18所示,图像效果如图19所示。
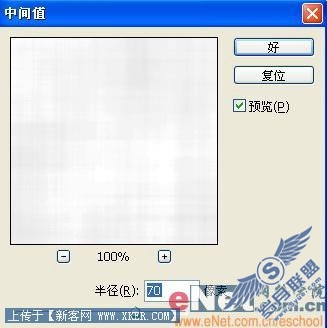
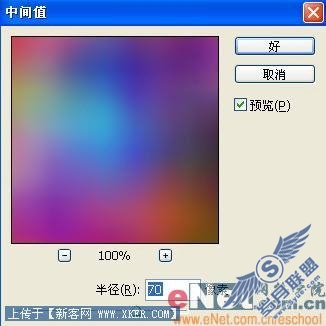
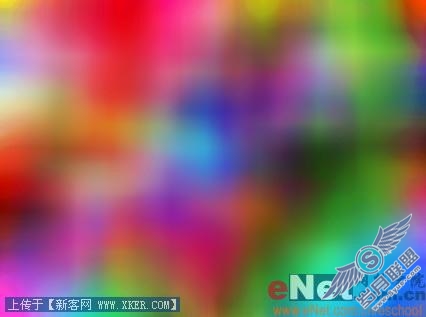
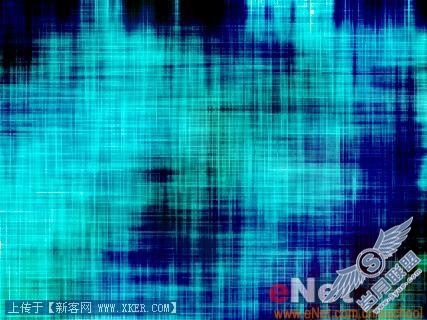
14、执行菜单栏中的“滤镜”“杂色”“中间值”命令,在弹出的对话框中设置参数如图22所示,图像效果如图23所示。
16、设置图层2的图层混合模式为“颜色加深”,“填充”为55%,图像效果如图25所示。
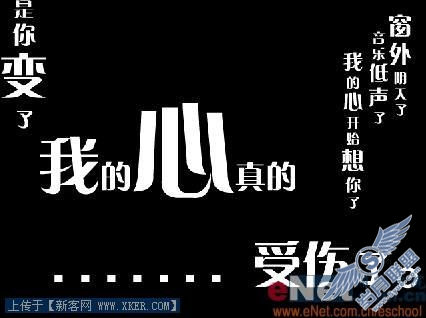
17、新建图层3,并填充黑色,选择工具箱中的文字工具,在窗口中输入自己想输入的各种大小的文字,效果如图26所示。
18、合并所有文字层与图层3,执行菜单栏中的“滤镜”“纹理”“颗粒”命令,在弹出的对话框中设置参数如图27所示,图像效果如图28所示。
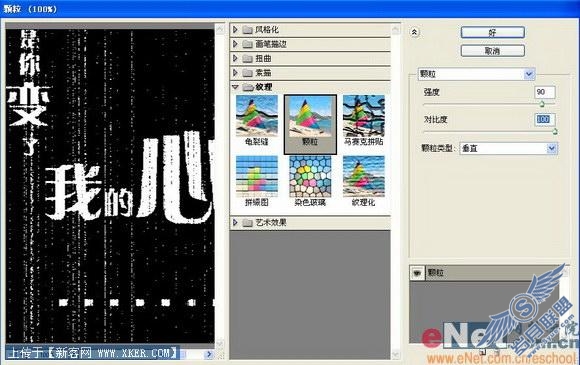
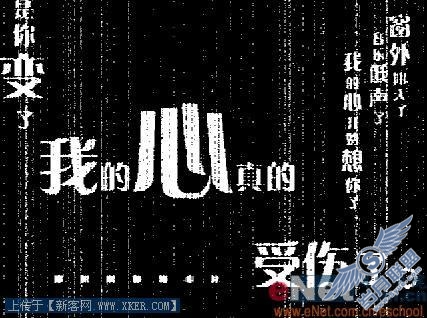
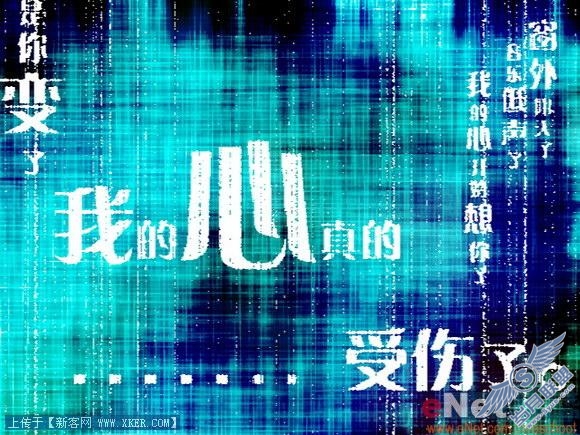
19、设置该层的图层混合模式为“滤色”,最终效果如图29所示。