Photoshop调出雪景照片的金色效果
来源:岁月联盟
时间:2008-11-27
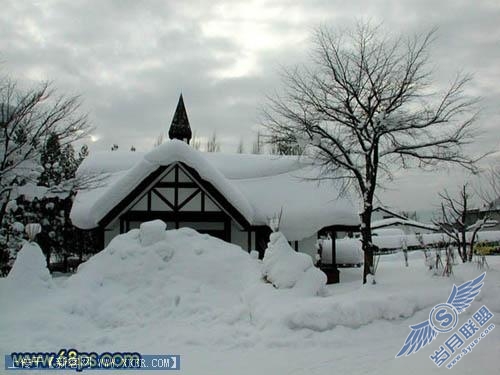
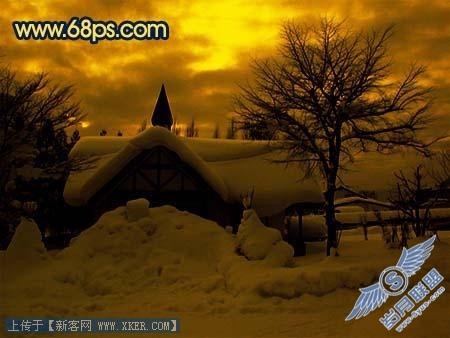
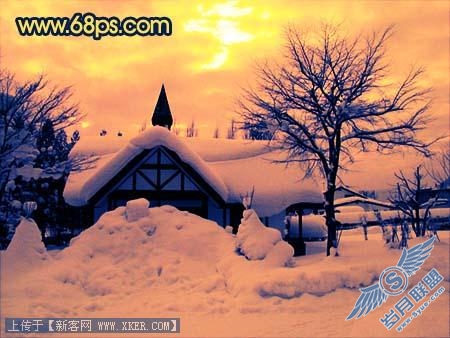
原图
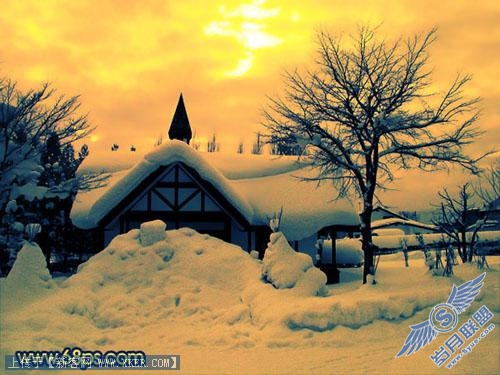
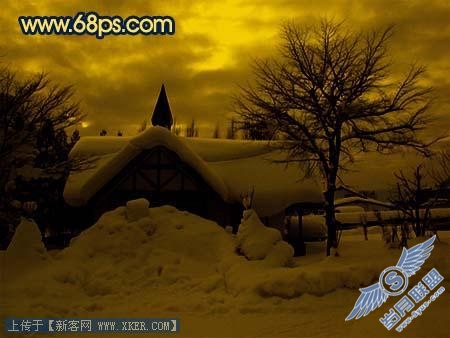
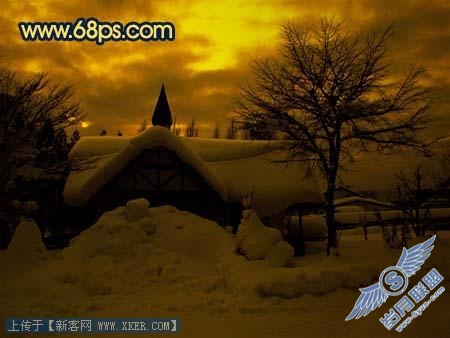
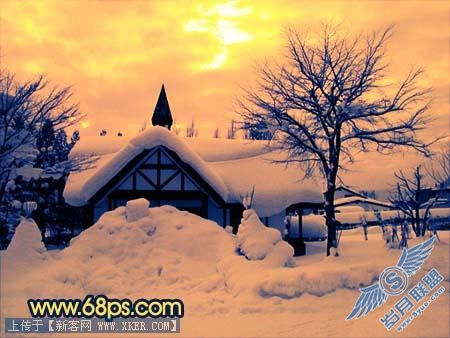
最终效果
1、打开原图素材,按Ctrl + J把背景图层复制一层,图层混合模式改为“正片叠底”,效果如图1。
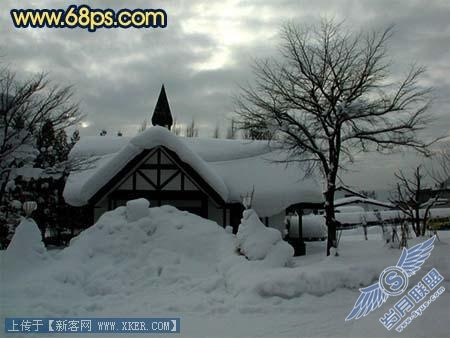
<图1>
2、创建渐变映射调整图层,渐变颜色设置如图2,然后勾选反相,确定后把图层混合模式改为“正片叠底”,效果如图3。

<图2>
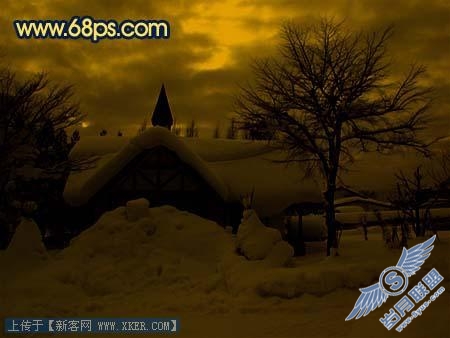
<图3>
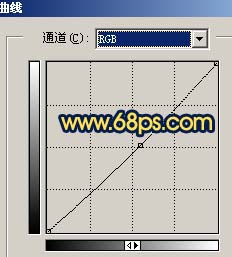
3、创建曲线调整图层,适当把图片调亮一点。
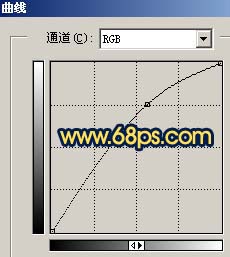
<图4>
4、新建一个图层,按Ctrl + ALt + Shift + E盖印图层,用钢笔工具勾出房顶边缘位置,适当调亮一点,如图5,6。
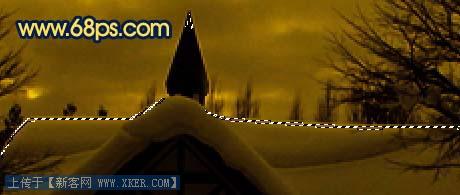
<图5>
<图6>
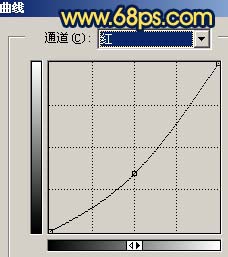
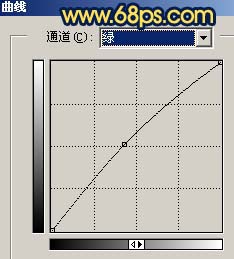
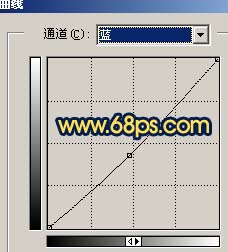
5、创建曲线调整图层,参数设置如图7,8,效果如图9。
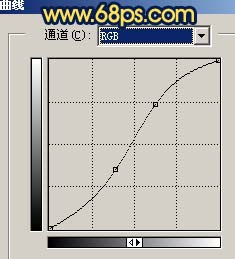
<图7>
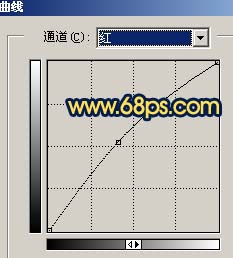
<图8>
<图9>
6、新建一个图层盖印图层,适当把边角地方用加深工具加深一下,如图10。
<图10>
7、把背景图层复制一层,按Ctrl + SHift + ]移到图层的最上面,再按Ctrl + [移到盖印图层的下面,然后把刚才盖印图层的混合模式改为“颜色”,图层及效果如图11。
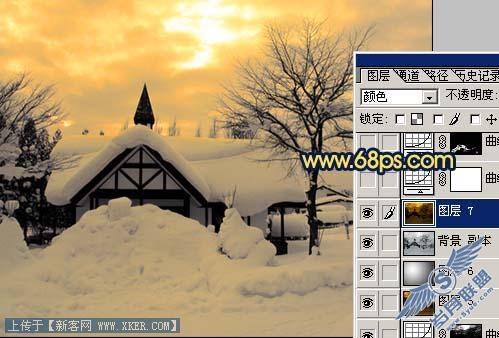
<图11>
8、创建曲线调整图层,参数设置如图12-14,效果如图15。
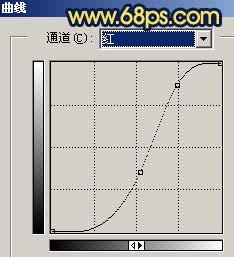
<图12>
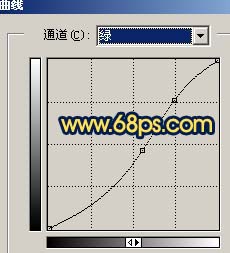
<图13>
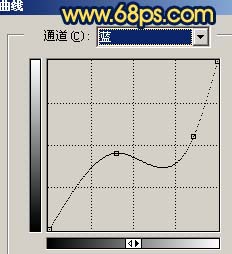
<图14>
<图15>
9、创建通道混合器调整图层,参数设置如图16,效果如图17。
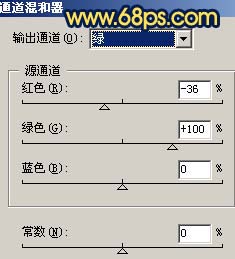
<图16>
<图17>
10、再创建曲线调整图层,参数设置如图18-21,效果如图22。
<图18>
<图19>
<图20>
<图21>

<图22>
11、新建一个图层,盖印图层,整体修饰下细节,完成最终效果。

<图23>