Photoshop打造抽象表现主义效果图
来源:岁月联盟
时间:2007-02-25
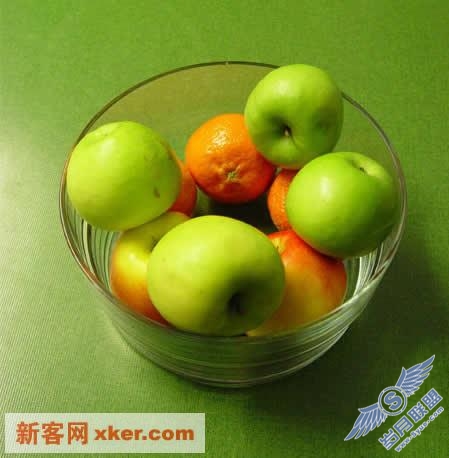
打开按Ctrl+J复制三个图层,然后隐藏上面两个图层:
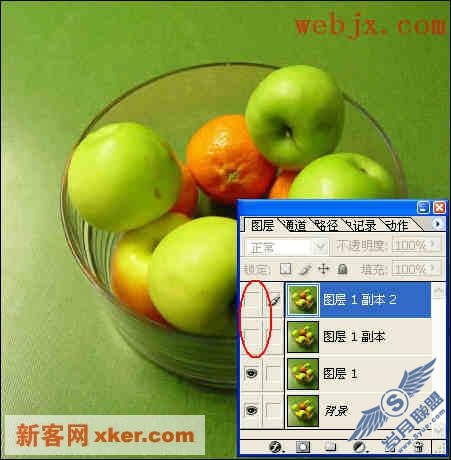
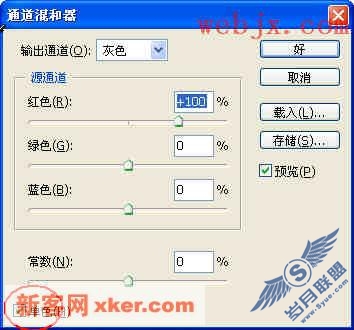
然后选择下面的图层,执行“图像”->“调整”->“通道混合器”:
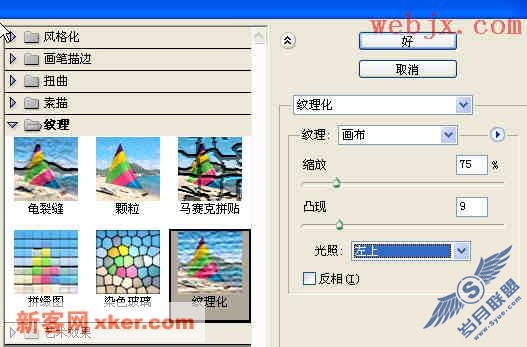
然后执行“滤镜”->“纹理”->“纹理化”:
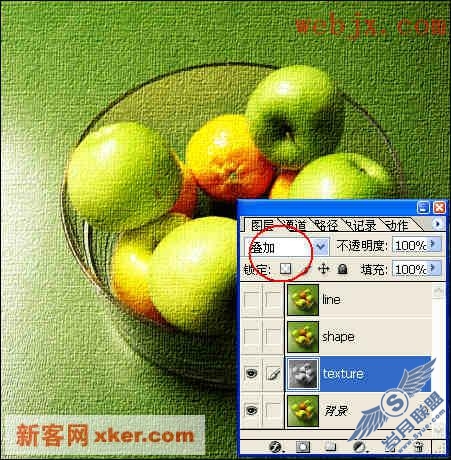
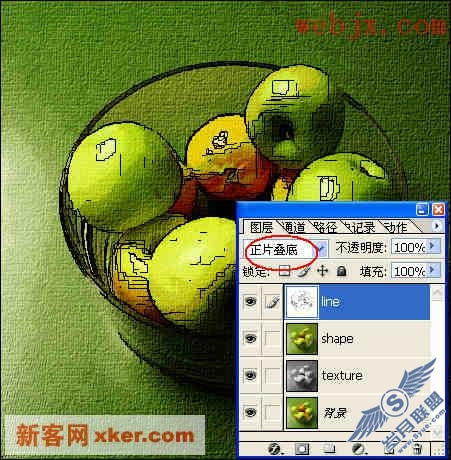
然后设置该图层模式为叠加(注意:在这里为了方便操作我给每个图层都起了不同的名字):
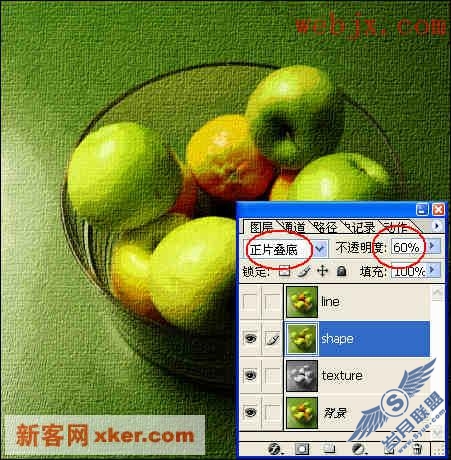
更改图层模式和不透明度
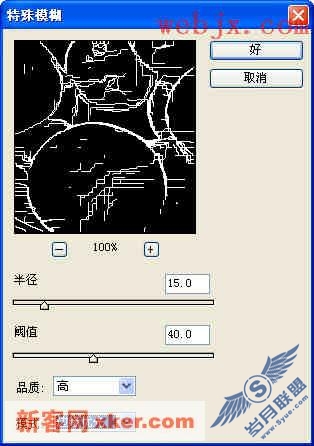
选择最上面图层,执行“滤镜”->“模糊”->“特殊模糊”:
按Ctrl+I反相,然后设置图层模式:
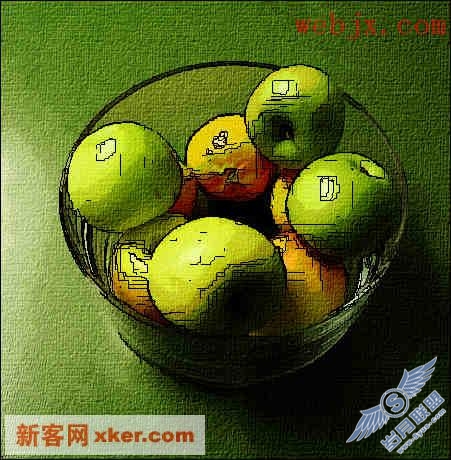
拼合所有图层,最终效果: