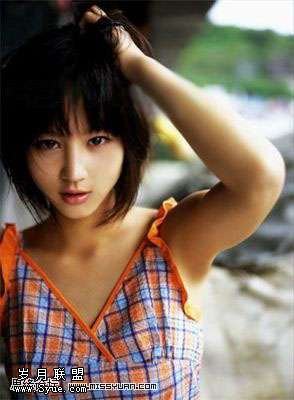
用Photoshop美化美女的摄像头照片
来源:岁月联盟
时间:2007-02-13


总共三个大的步骤
1.颜色调整
2.人物形体的美化
3.最后画面修饰点缀
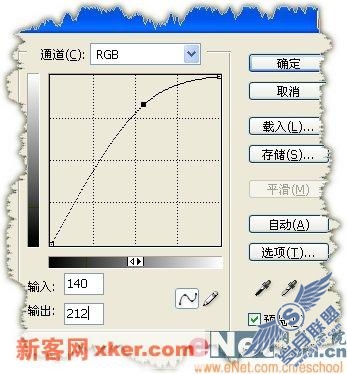
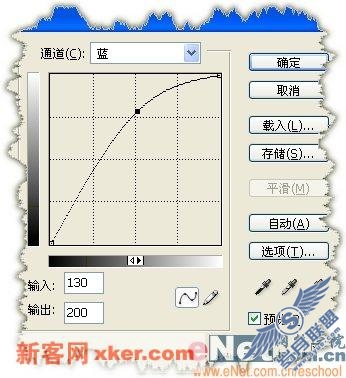
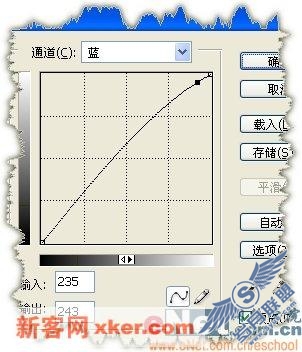
1,打开文件复制一层,ctrl+m打开曲线,点确定再次打开曲线蓝色通道
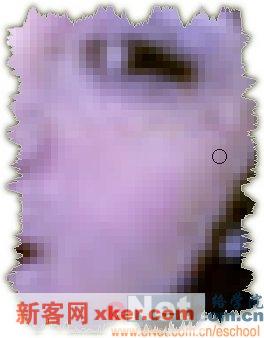
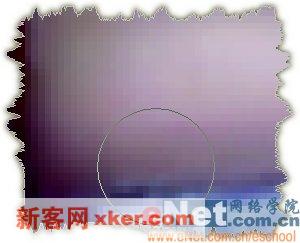
2,用模糊工具磨下皮肤 注意保留该留的地方 比如五官的清晰,这步大家耐心点磨下,毕竟摄象头照的相片质量不太好
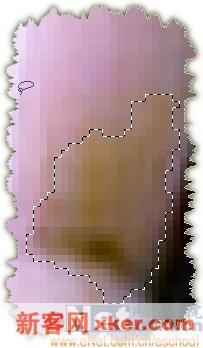
3,相片上有很多这种色斑可以把那些颜色选出来,打开曲线蓝色通道
4,第一步的大色偏向调好后,现在开始整形体,PS的强大整容术开始了,呵呵天衣无缝。Ctrl+shift+x打开液化滤镜面版,按W向前变形工具,现在你就好象拿了把刀嫌那切那吧,俺喜欢脸蛋线条柔和点的,注意下别手术出畸形哦。给这MM的小手也手术了下,让她的小手的一点缀肉立刻不见了

整体效果如下