Photoshop文字特效:制作炫彩夺目的发光文字
来源:岁月联盟
时间:2010-06-11
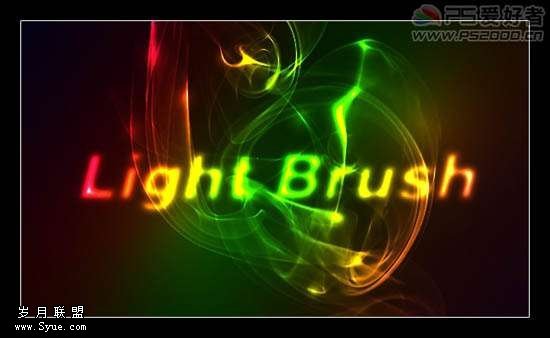
本实例教大家让笔刷散光出五彩的炫光效果。先看最终效果:
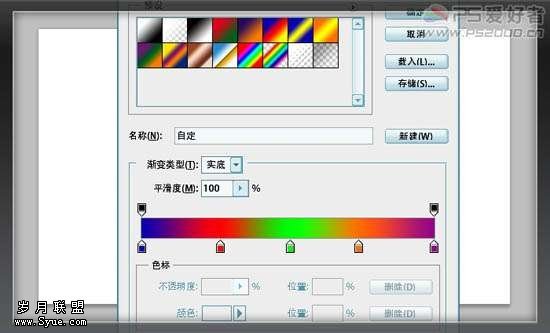
1、新建文档,选择渐变工具,打开渐变编辑器,设定颜色。
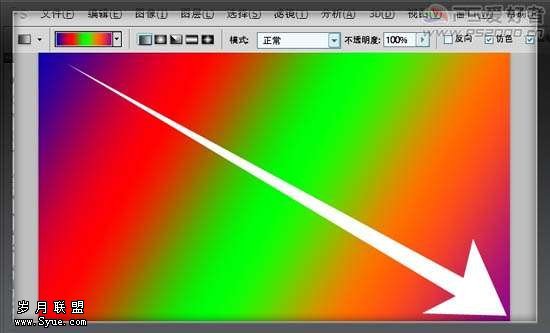
2、选择线性渐变方式,对角线拉出。
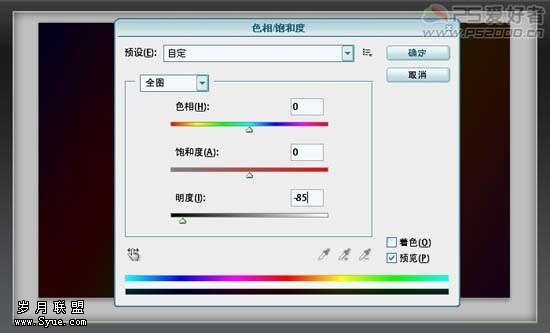
3、ctrl+U,降低明度
4、新建图层,前景色设为白色,载入烟雾笔刷,选择一种笔刷,用鼠标点出
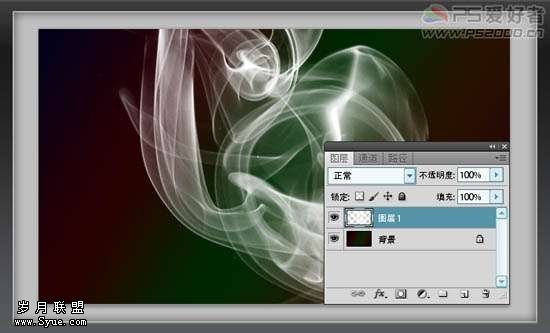
5、在图层1上按ctrl+G,将图层组设为“颜色减淡”

6、新建图层,前景色设为白色,选择渐变工具,选择前景至透明渐变效果。
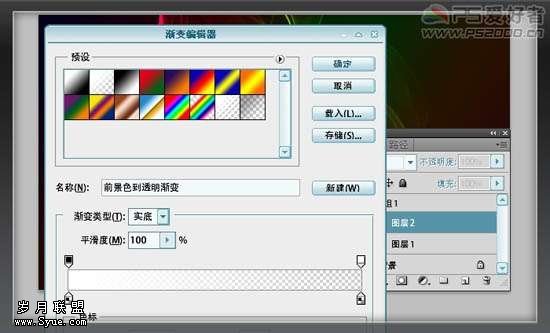
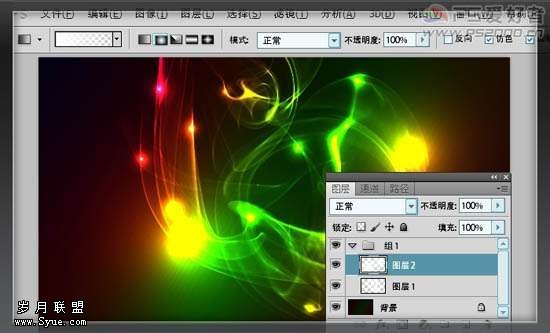
7、渐变样式为径向渐变。在需要发出高光的地方拖动鼠标
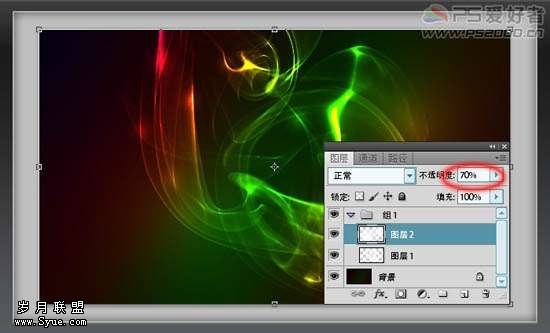
8、降低此图层的不透明度。
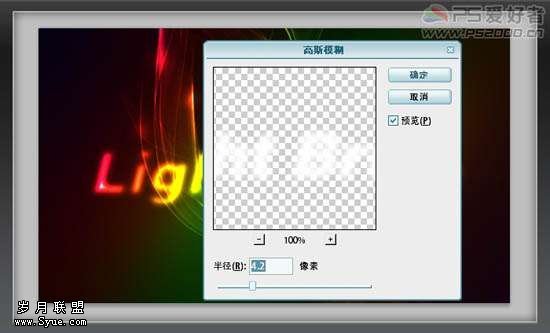
9、输入文字,高斯模糊。
最终效果: