Photoshop手机照片美白亮丽教程
来源:岁月联盟
时间:2010-07-13
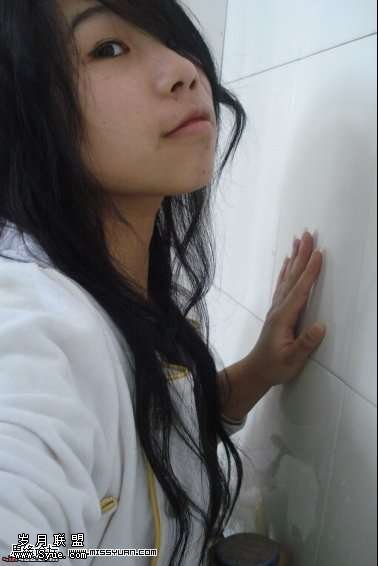
原图
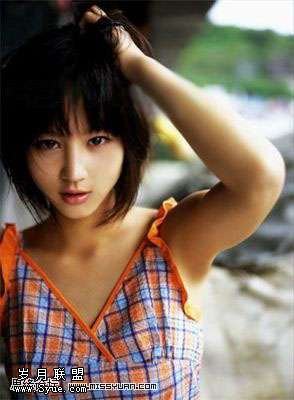
效果图

教程:
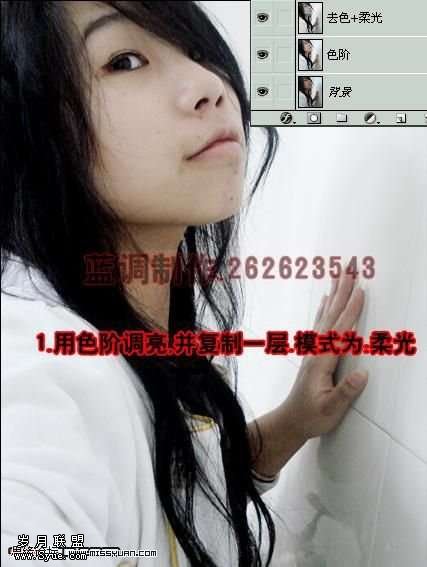
1、打开原图,Ctrl+L打开色阶,调整参数使图片变亮,调完后复制一层,去色,模式:柔光。
2、再次把图片调亮,复制一层设置模糊并添加蒙板,把左边脸上的头发蒙上,方便后面的操作。

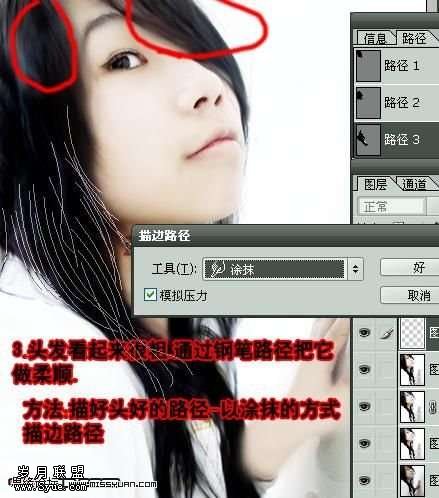
3、头发看起来很粗,使用钢笔工具画出路径并描边把它做得柔顺点。方法:制作好路径,以涂抹的方式描边路径。
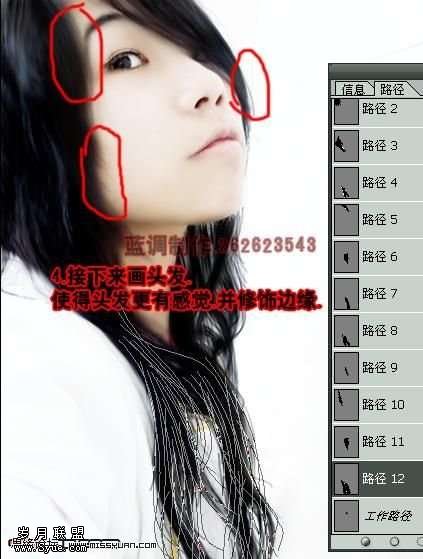
4、接下来画头发,使得头发更有感觉,并修饰边缘。
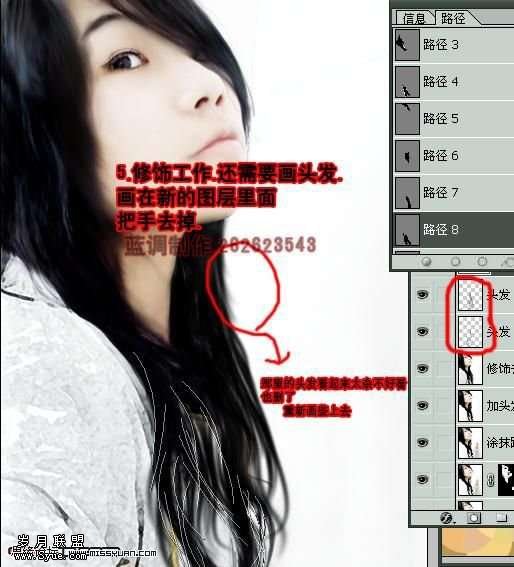
5、修饰工作,还需要画头发,画在新的图层里面。
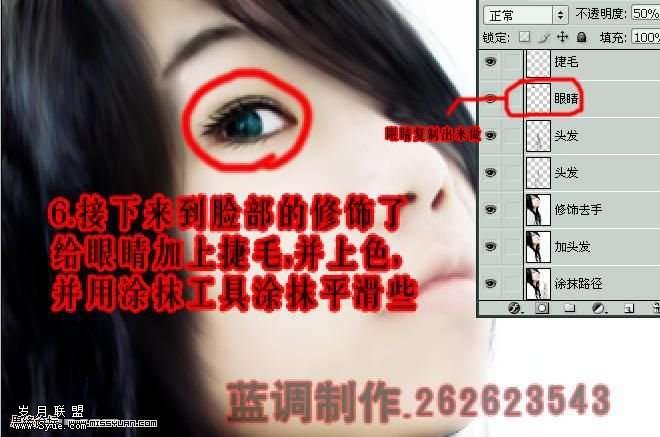
6、接下来到脸部的修饰了。给眼睛加上睫毛,并上色,并有涂抹工具涂抹平滑点。
7、更深的做头发的效果画头发。把画笔调为1像素白色,描边路径(画笔)画出头发

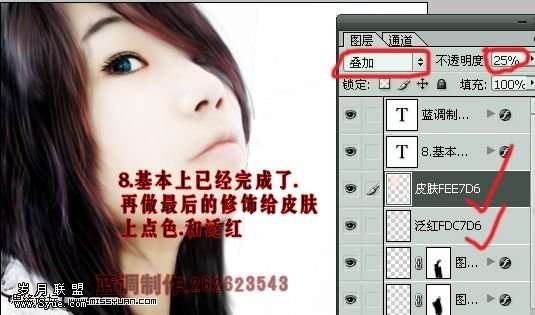
8、基本上已经完成了,再做最后的修饰给皮肤上点色,和泛红。