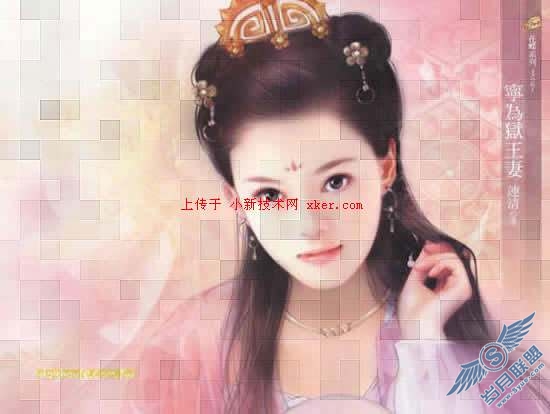
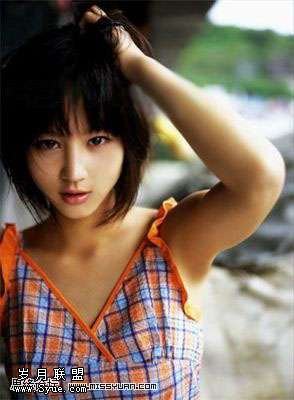
Photoshop为MM照片制作好看的方块效果
来源:岁月联盟
时间:2006-04-29

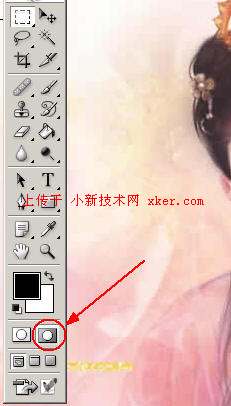
2、按Q进入快速蒙板状态,或者直接点下图所示也可以:
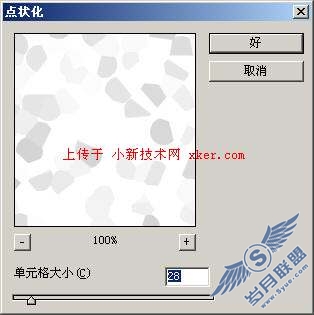
3、执行“滤镜”-“像素化”-“点状化”:
4、执行“滤镜”-“像素化”-“碎片”:
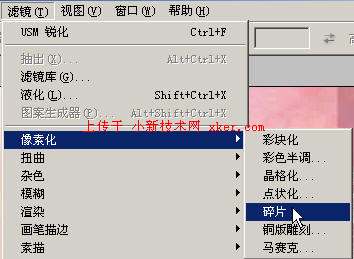
注:CTRL+F重复两次;
5、执行“滤镜”-“像素化”-“马赛克”:
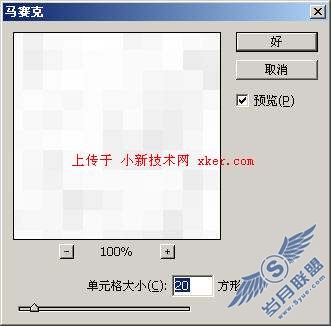
注:大小自己设定。
6、执行滤镜-锐化-USM锐化:
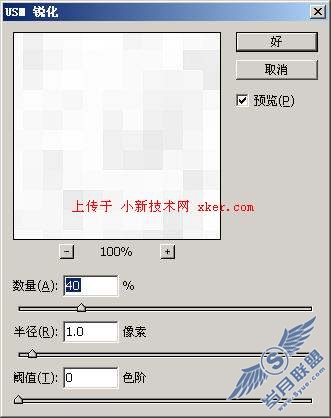
注:CTRL+F重复五次左右。
7、按Q切换到标准模式变为选区,然后选择“编辑”-“描边”:
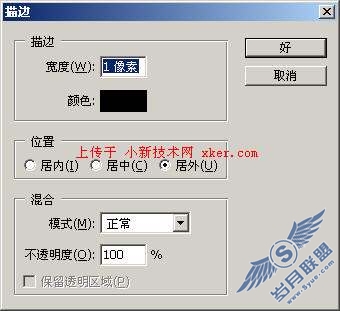
最终效果: