photoshop制作果冻字
来源:岁月联盟
时间:2007-05-29

1.首先运行Photoshop,新建一个800x500像素,72dpi的RGB图像。如图1所示。
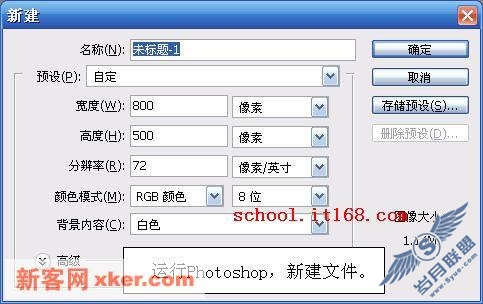
图1
2.使用硬度0%的画笔工具选取各种颜色进行涂鸦,我打算用它来作背景。如图2所示。

图2
3.执行滤镜/杂色/中间值,将半径设置为70像素,单击确定按钮应用。如图3所示。

4.执行滤镜/杂色/添加杂色,将数量设置为5%,高斯分布,单色。如图4所示。
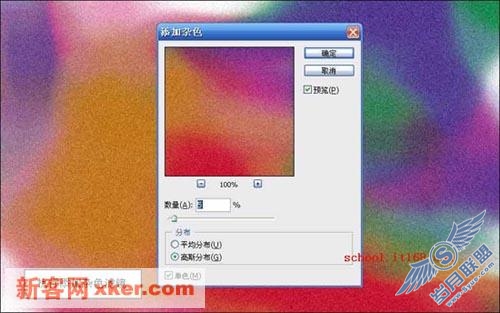
图4
5.执行滤镜/画笔描边/成角的线条,将数值分别设置为50、40、10。如图5所示。

图5
6.进行到这里,背景就制作完成了。接下来输入文字。如图6所示。

图6
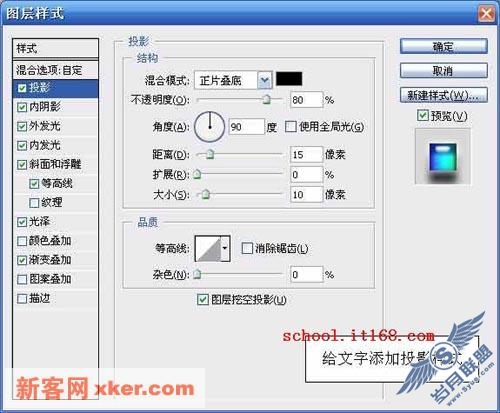
7.给文字添加投影样式,参数设置如图所示。如图7所示。
8.给文字添加内阴影样式,参数设置如图所示。如图8所示。
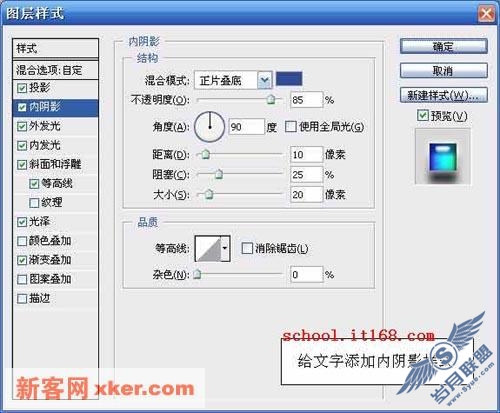
图8
9.给文字添加外发光样式,参数设置如图所示。如图9所示。
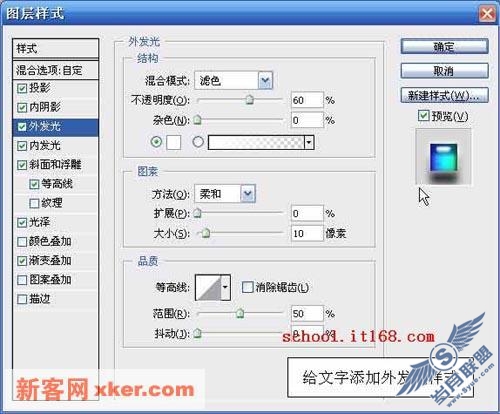
图9
10.给文字添加内发光样式,参数设置如图所示。如图10所示。
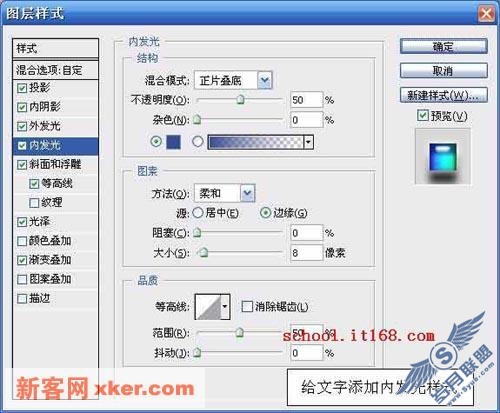
图10
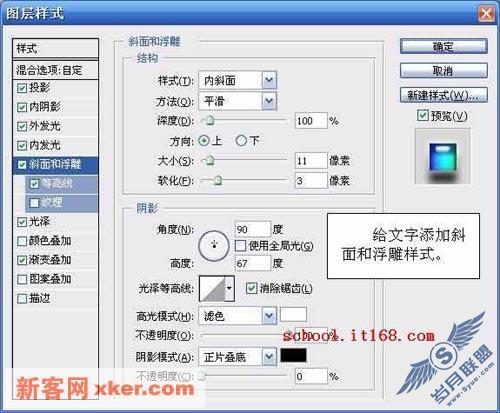
11.给文字添加斜面和浮雕样式,参数设置如图所示。如图11所示。
12.给文字添加等高线样式,参数设置如图所示。如图12所示。
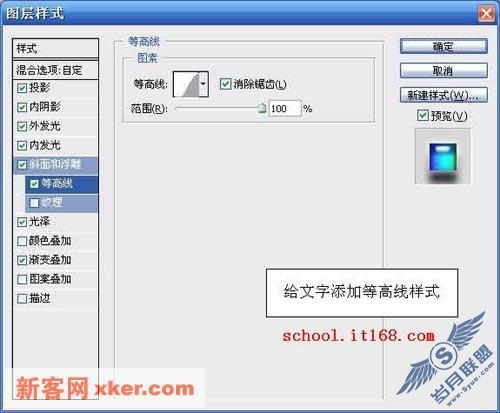
图12
13.给文字添加光泽样式,参数设置如图所示。如图13所示。
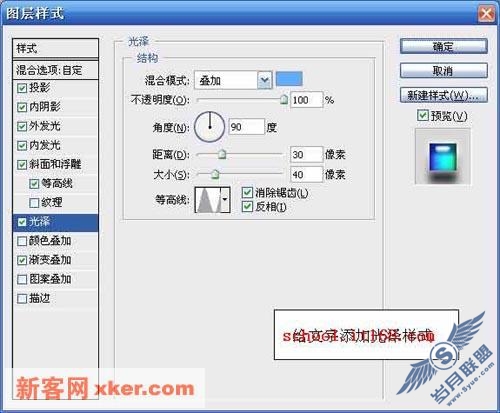
图13
14.给文字添加渐变叠加样式,参数设置如图所示。如图14所示。
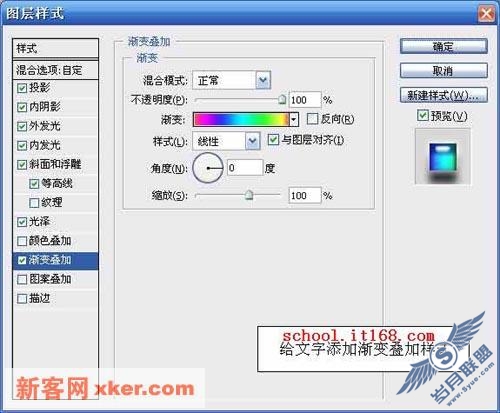
图14
15.使用自定义醒转工具绘制一个鲜花的路径。如图15所示。

16. 按下Ctrl+Enter键,将路径转化为选区,并填充白色。如图16所示。

图16
17.给鲜花图层添加光泽样式,参数设置如图所示。如图17所示。
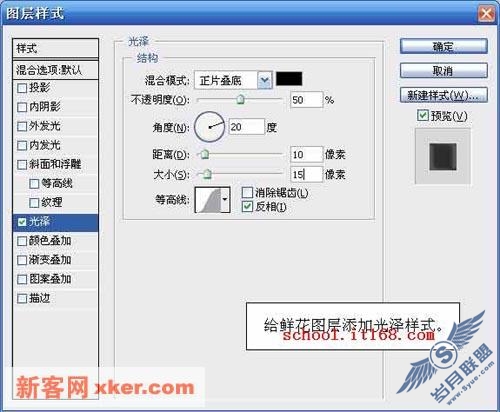
图17
18.将鲜花图层的填充度调整为0%。如图18所示。

图18
19.最后进行一些简单的修饰,整个作品就完成了。如图19所示。

图19