PS打造Sinsuo非主流效果+颓废美化
来源:岁月联盟
时间:2007-07-31
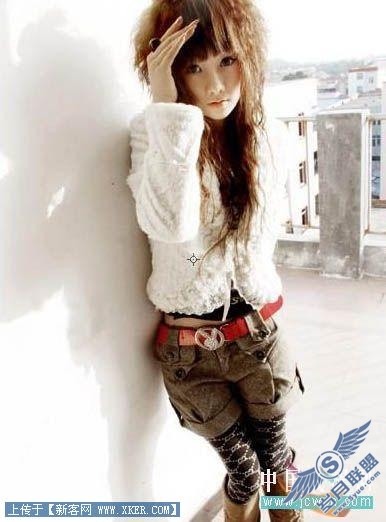
图1
图2
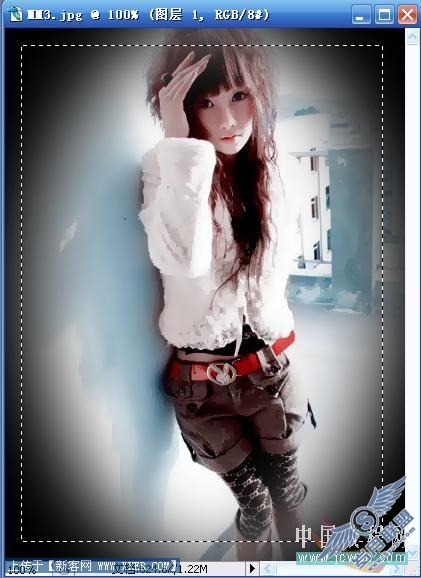
图3
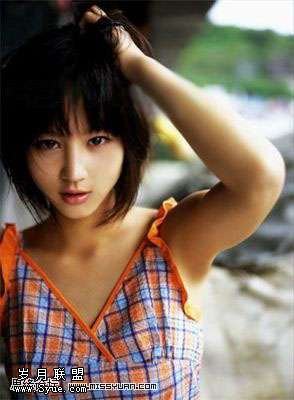
处理前
图4
处理后
图5
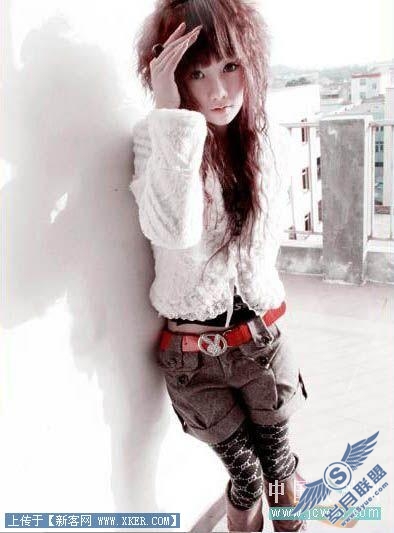
图6
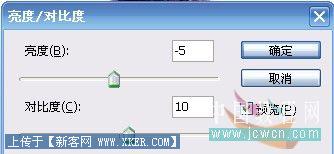
图7
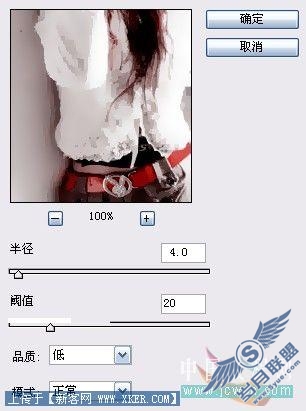
图8
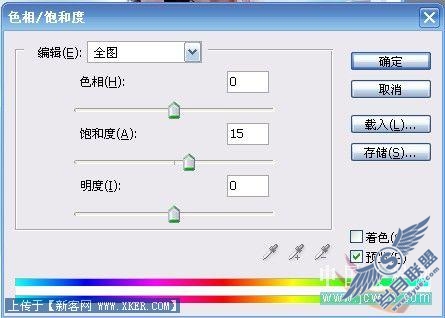
PS:以上参数都是参考参数,大家可以根据自己的喜好自行调整 8:图象——调整——色彩平衡。注意:不保持亮度,选择“阴影”。
图9
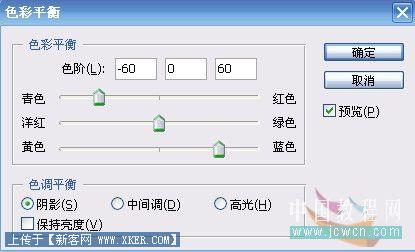
图10
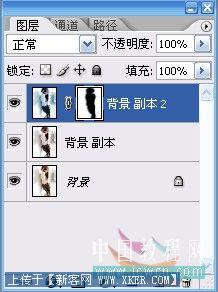
11:用橡皮檫,前景色为白色,把人物檫出来
图11
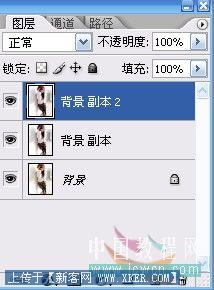
13:在新建一层,图层1。
图12
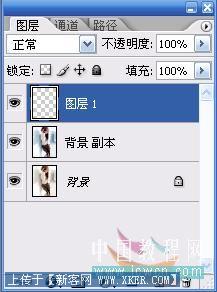
图13
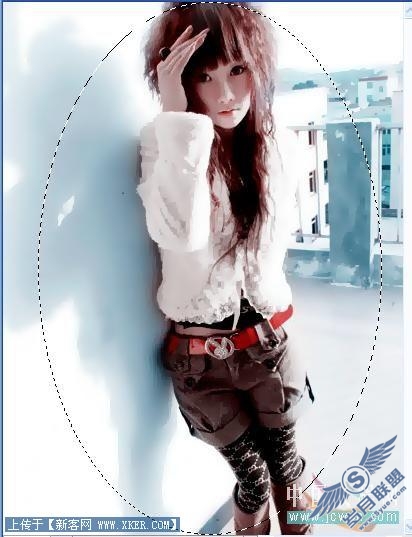
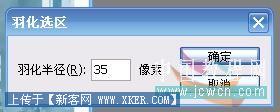
16:羽化OK之后,CTRL+SHIFT+I反向选择
图14
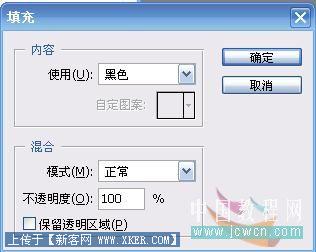
18:填充完后合并图层
图15
这样,一个“SINSUO”风格的非主流图就基本OK啦~~,下面我们来做颓废装饰效果~~ 19:新建一个图层,用矩形选框工具拉出如图的举行选取框。
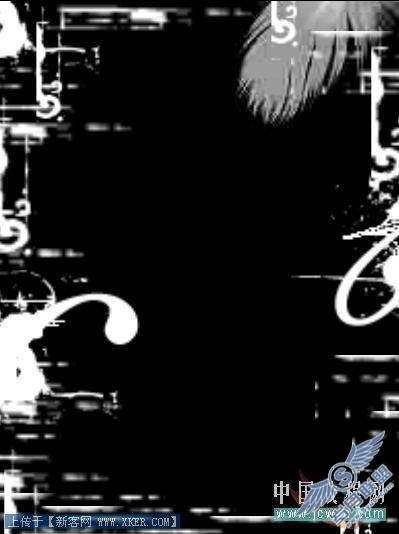
20:CTRL+SHIFT+I反向选择。
21:SHIFT+F5填充黑色,其他选项默认就可以了。
22:合并图层,在新建一个图层~
图16
23:选择新建的“图层 1”(透明的),用各种画笔,前景色为白色,发挥各自的想象,在图片周围画出凌乱颓废的边框效果。
图17
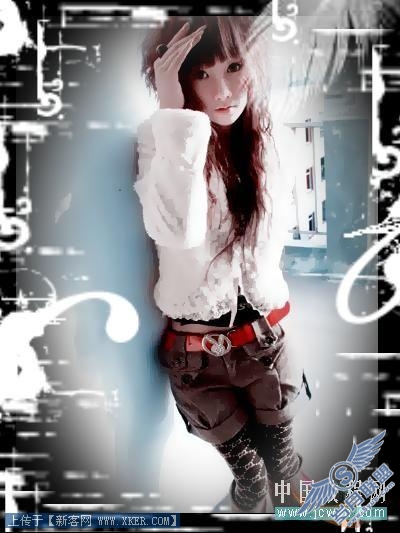
图18
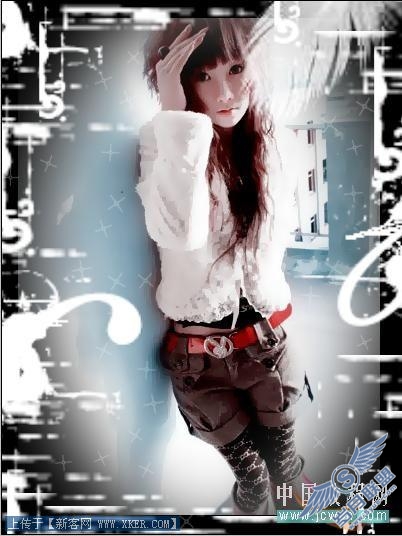
26:在新建一个图层,用星星笔刷之类的画笔,随意的在图片里做装饰效果。
27:觉得满意后,可以加上自己的LOGO签名,就可以合并图层,保存下来。
下面是最终效果:
图19
好了,教程互此结束,希望大家能喜欢。。
有什么不明白的地方可以跟贴发问,我会帮你们回答的。
希望大家多多练习 ,把你们做的图都跟贴发来,看看谁的做的更好,谁能加如新的元素,也和大家分享一下做法!
谢谢`!