用Photoshop打造压纹镂空文字效果
来源:岁月联盟
时间:2007-07-20
制作工具:Photoshop CS
制作过程:
1、新建一个宽度为100像素,高度为100像素,分辨率为350像素的文件。
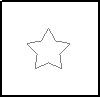
2、新建图层1,单击工具箱中的“自定义形状工具”,在其属性栏中单击路径按钮,并在形状下拉面板中选择五角星图案,然后在窗口中拖拽创建一个五角星路径,如图01所示。
3、按Ctrl+Enter键,将路径转换为选区,对选区填充黑色,取消选区,效果如图02所示。接着对图层1执行菜单栏中的“编辑”“定义画笔预设”命令,在弹出的对话框中单击确定。

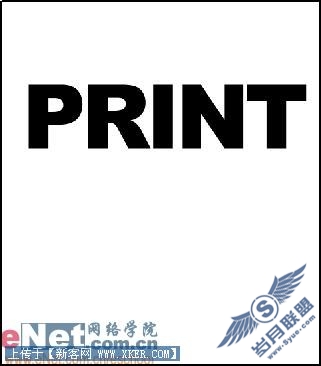
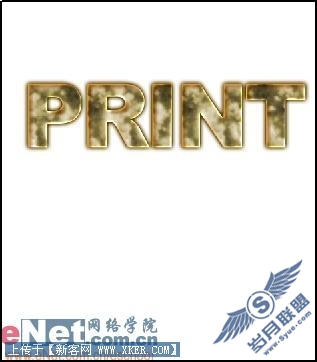
4、新建一个文件,设置前景色为黑色,然后单击工具箱中的“文字工具”,在图像窗口中输入文字,效果如图03所示。
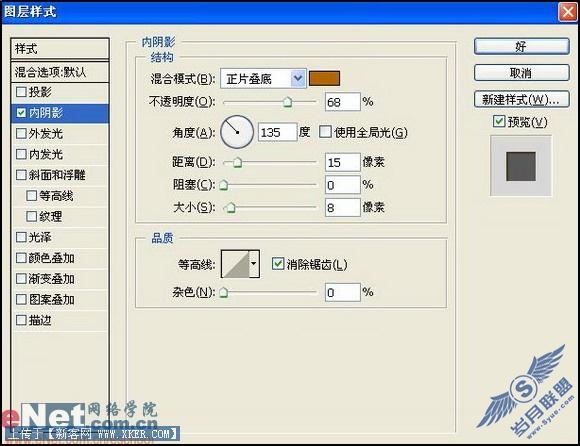
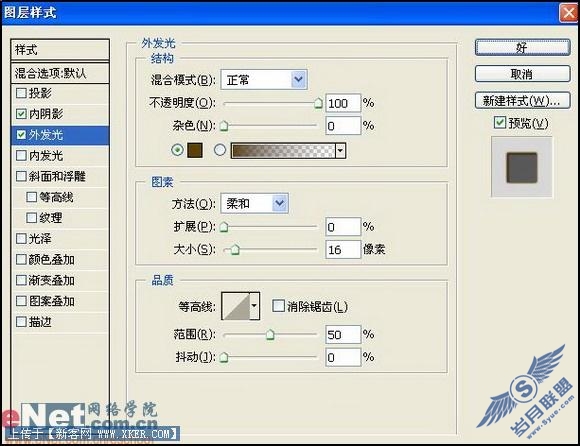
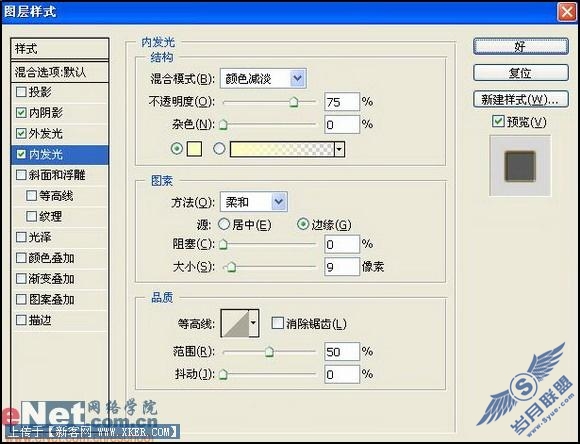
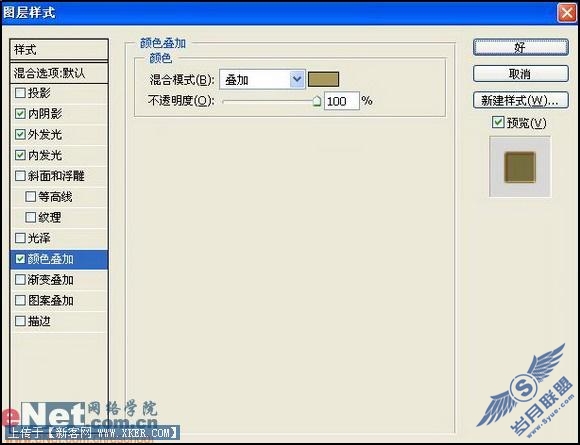
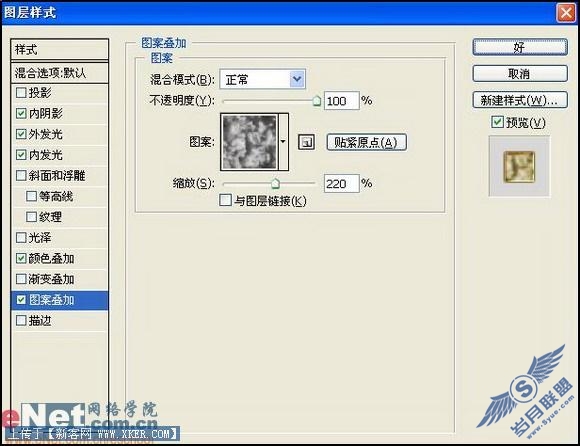
5、在文字图层上单击右键,在弹出的快捷菜单中选择“栅格化文字”命令,将文字层转换为普通层。双击文字层,弹出图层样式对话框,在对话框中选择内阴影、外发光、内发光、颜色叠加、图案叠加样式,设置参数如图04-08所示,设置后的效果如图09所示。
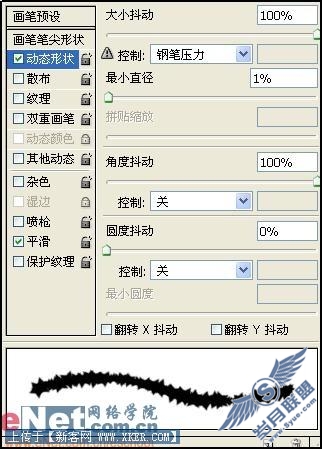
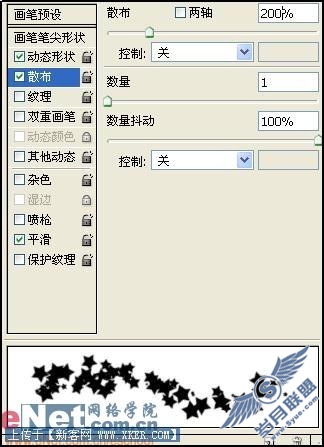
6、单击工具箱中的“橡皮擦工具”,在属性栏的右边单击“画笔”标签,选择前面定义好的笔刷形状,并设置画笔的动态形状,如图10-12所示。

7、选择文字层,在文字上单击,可随机擦掉图像,通过按【和】键调整画笔的大小,文字效果如图13所示。
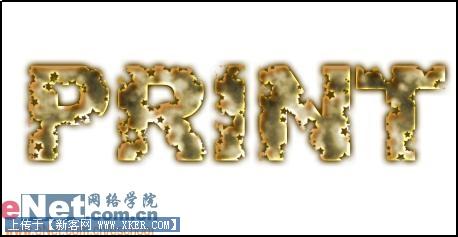
8、新建图层,使用文字工具为图像添加其他的文字,效果如图14所示。

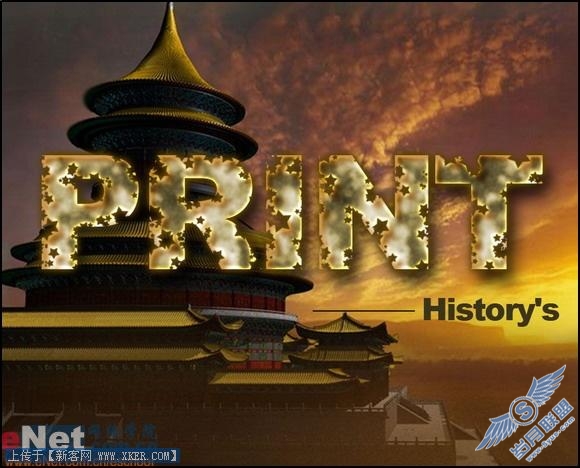
9、为文字选择合适的背景,最终效果如图15所示。
上一篇:PS初学者修图常用方法与技巧一