金碧辉煌Photoshop打造绚丽夜景
来源:岁月联盟
时间:2007-09-17
制作工具:Photoshop CS
制作过程:
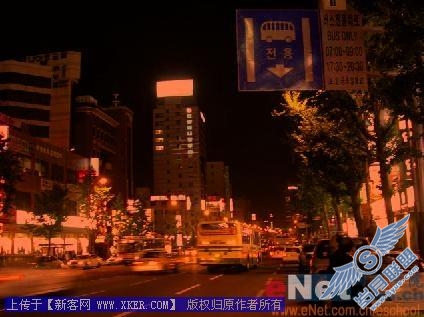
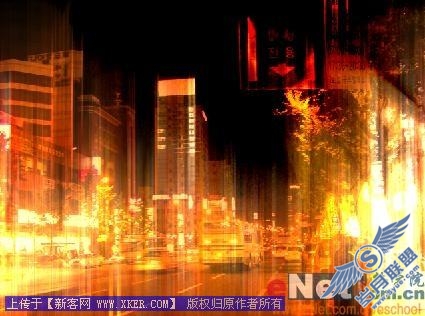
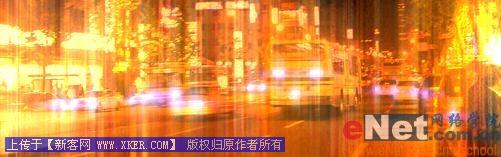
1、打开一幅夜景照片,效果如图01所示。
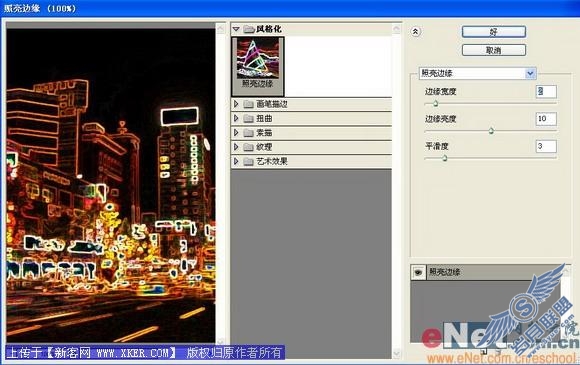
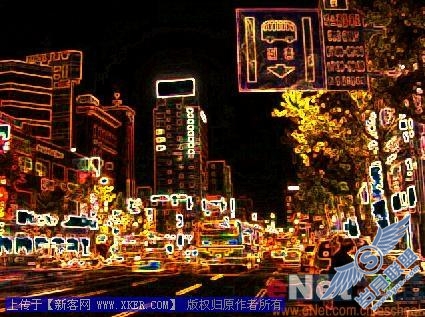
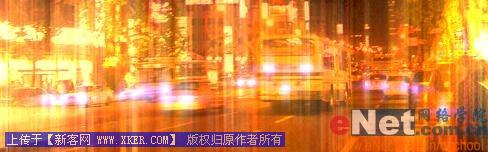
2、复制背景层为背景副本图层。执行菜单栏中的“滤镜”“风格化”“照亮边缘”命令,在弹出的对话框中,设置参数如图02所示,图像效果如图03所示。
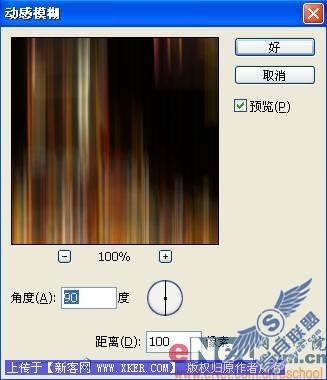
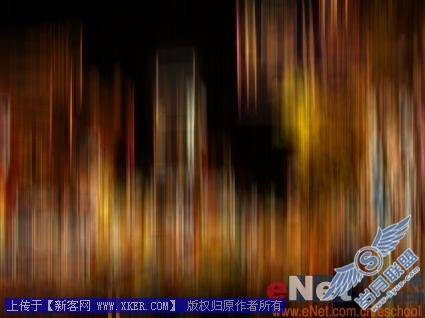
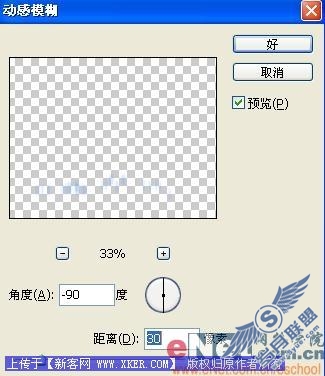
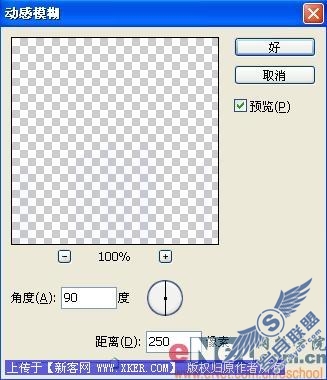
3、执行菜单栏中的“滤镜”“模糊”“动感模糊”命令,在弹出的对话框中设置参数如图04所示,图像效果如图05所示。
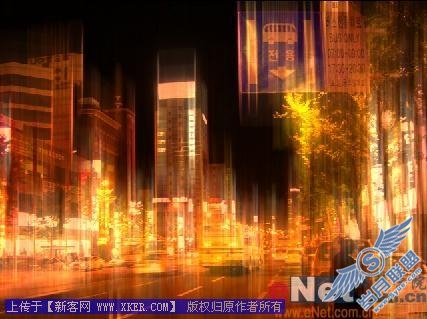
4、在图层面板中将背景副本的图层混合模式设置为“线性减淡”,图像效果如图06所示。
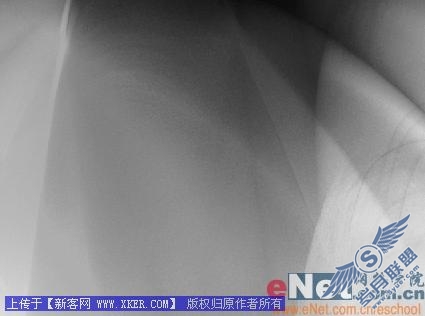
5、打开一幅素材图片,如图07所示。将图片拖至文件中生成图层1,将图层1的图层混合模式设置为“亮光”,图像效果如图08所示。
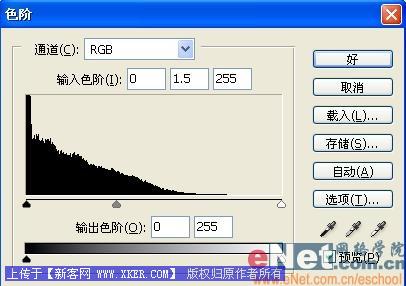
6、在图层面板中选择“背景副本图层”,执行菜单栏中的“图像”“调整”“色阶”命令,在弹出的对话框中设置参数如图09所示。
7、在背景副本图层上面新建图层2,设置前景色为142dfd,选择工具箱中的“画笔工具”设置好大小和压力,在汽车尾灯区域涂抹,效果如图10所示。

8、将图层2的图层混合模式设置为“滤色”,效果如图11所示。

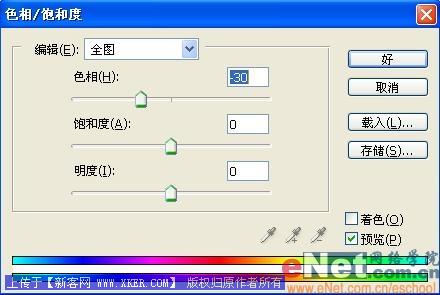
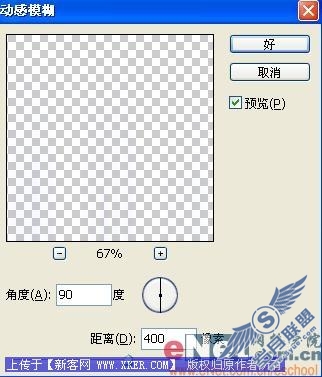
9、复制图层2为“图层2副本”,执行菜单栏中的“图像”“调整”“色相/饱和度”命令,在弹出的对话框中设置参数如图12所示,执行菜单栏中的“滤镜”“模糊”“动感模糊”命令,在弹出的对话框中,设置参数如图13所示,图像效果如图14所示。
10、复制图层2为图层2副本2,继续执行菜单栏中的“滤镜”“模糊”“动感模糊”命令,在弹出的对话框中,设置参数如图13所示,图像效果如图14所示。
11、继续执行菜单栏中的“滤镜”“模糊”“动感模糊”命令,在弹出的对话框中,设置角度为0,距离为40,图像效果如图15所示。
12、将图层2和图层副本链接合并为图层2。接着复制图层2,菜单栏中的“滤镜”“模糊”“动感模糊”命令,在弹出的对话框中,设置参数如图16所示。复制图层2副本,菜单栏中的“滤镜”“模糊”“动感模糊”命令,在弹出的对话框中,设置参数如图17所示,图像效果如图18所示。
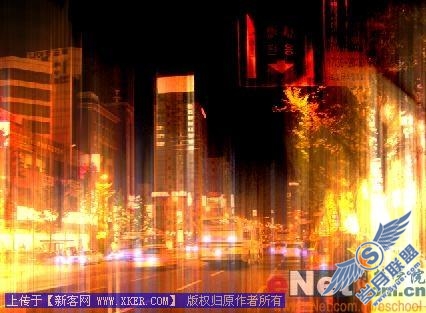
13、复制图层2副本为图层2副本2,将图层2的三个副本链接合并,设置该层的图层混合模式为“强光”,图像最终效果如图19所示。
上一篇:PS教程:老马教程_润泽你的相片