Photoshop打造个性的牛仔布字体
来源:岁月联盟
时间:2007-12-18
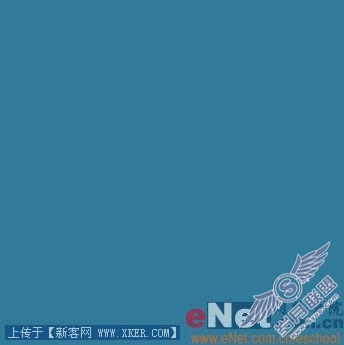
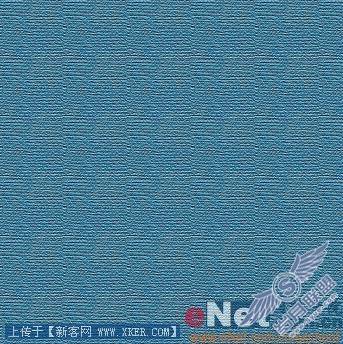
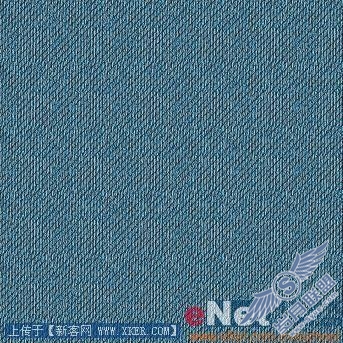
1、新建一个文件。新建图层1,设置前景色为蓝色RGB分别为49、122、154,按Ctrl+Delete键进行填充,效果如图01所示。
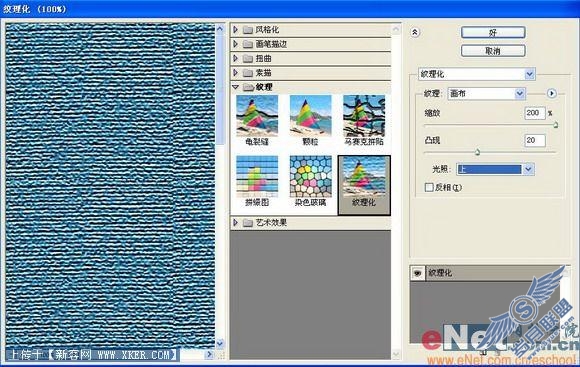
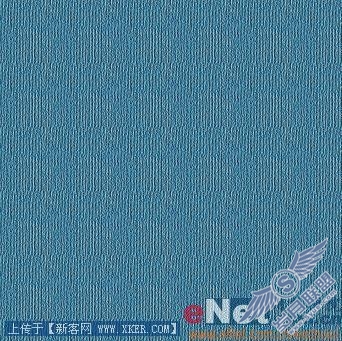
2、选择图层1,执行菜单栏中的“滤镜”“纹理”“纹理化”命令,在弹出的对话框中设置参数如图02所示,图像效果如图03所示。
3、按Ctrl+T键,将图像旋转90度,图像效果如图04所示。
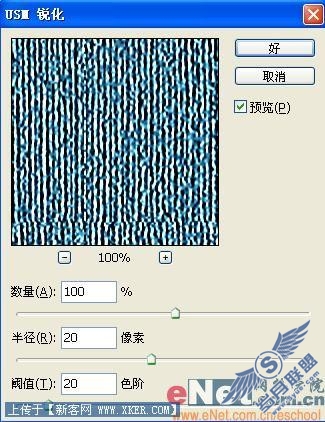
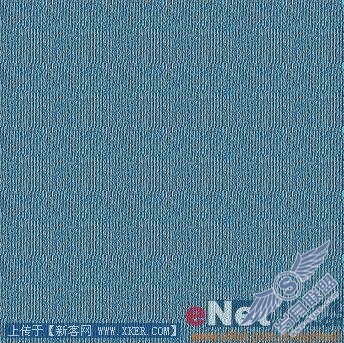
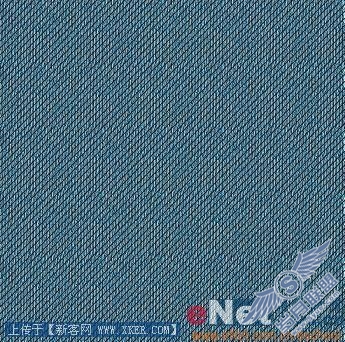
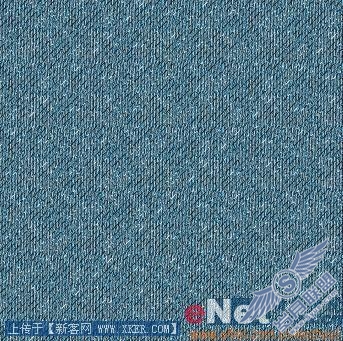
4、选择图层1,执行菜单栏中的“滤镜”“锐化”“USM锐化”命令,在弹出的对话框中设置参数如图05所示,图像效果如图06所示。
5、新建一个宽度和高度为26像素的文件。新建图层,单击画笔工具,设置主直径为3,前景色为深蓝色,在画面绘制对角直线,效果如图07所示。
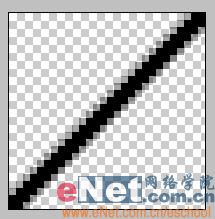
6、执行菜单栏中的“编辑”“定义图案”命令,在对话框中单击确定按钮。
7、回到刚才的文件中,新建图层2,单击油漆桶工具,在属性栏中选择定义的图案如图08所示,填充效果如图09所示。

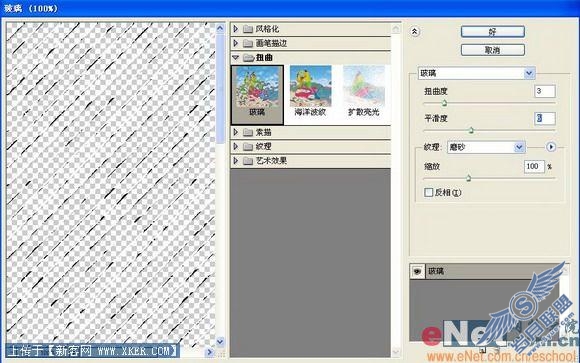
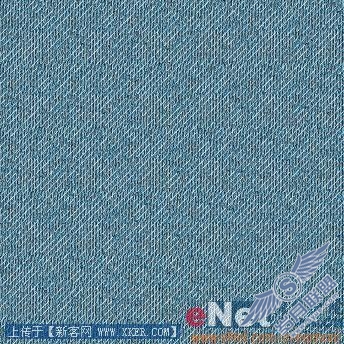
8、选择图层2,执行菜单栏中的“滤镜”“扭曲”“玻璃”命令,在对话框中设置参数如图10所示,图像效果如图11所示。
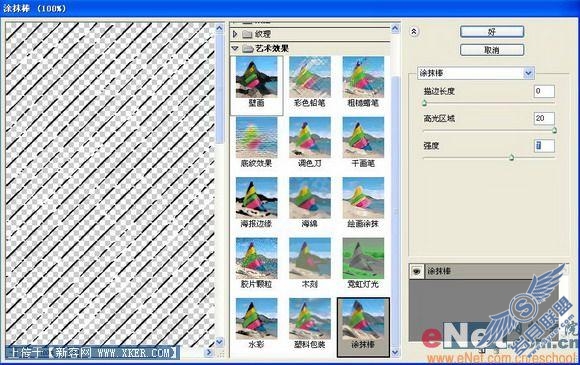
9、选择图层2,执行菜单栏中的“滤镜”“艺术效果”“涂抹棒”命令,设置参数如图12所示,图像效果如图13所示。
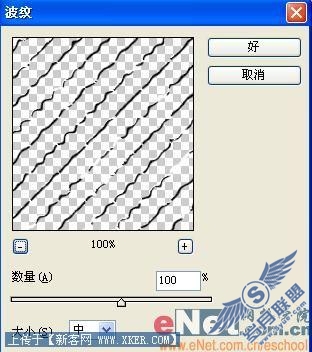
10、选择图层2,执行菜单栏中的“滤镜”“扭曲”“波纹”命令,在对话框中设置数量为100%,如图14所示,图像效果如图15所示。
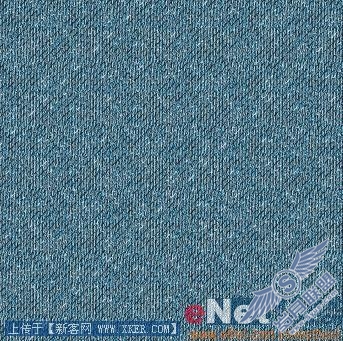
11、设置图层2的图层混合模式为“线性加深”,不透明度为80%,图像效果如图16所示。
12、隐藏背景图层,按住Shift键的同时选择图层1和图层2,按下快捷键Shift+Ctrl+Alt+E键,盖印可见图层生成图层3。
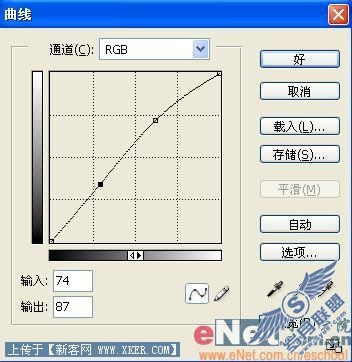
13、按Ctrl+J键,复制图层3得到图层3副本。选择图层3,按Ctrl+M键打开“曲线”对话框,参照左下图设置各项参数如图17所示,调整图像的色阶亮度,图像效果如图18所示。
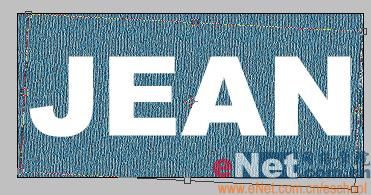
14、选择工具箱中的“文字工具”,在文件中输入文字,图像效果如图19所示,并将画布裁切一些。

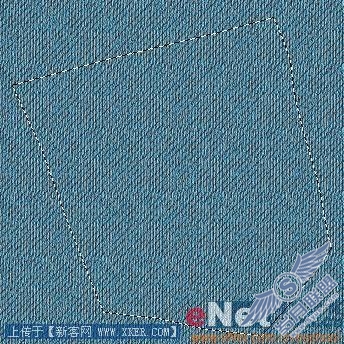
15、按Ctrl+T键,将图层3副本缩小并旋转,如图20所示。按Ctrl键单击文字图层载入选区,然后删除文字层,反选选区,删除选区内的部分,图像效果如图21所示。

16、新建一个宽度和高度为50像素的文件。新建图层1,单击钢笔工具,在画面中绘制缝线形状路径,并填充黑色,图像效果如图22所示。
17、隐藏背景,对图层1的图像执行“编辑”“定义画笔预设”命令,如图23所示。

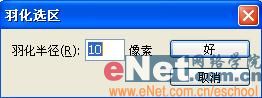
18、回到文件中,新建图层4,按住Ctrl键的同时单击图层1的图层缩览图,载入蒙版选区,执行菜单栏中的“选择”“修改”“收缩”命令,在对话框中设置收缩量为10像素如图24所示,图像效果如图25所示。切换到路径面板,单击“从选区生成工作路径”按钮,效果如图26所示。


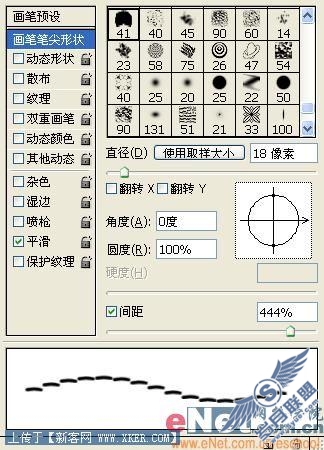
19、保持选区不变,单击画笔工具,选择刚才定义的画笔,设置如图27所示。设置好颜色,单击路径面板下方的“用画笔描边路径”按钮,效果如图28所示,然后将不正确的部分擦掉,并调整正确,如图29所示。

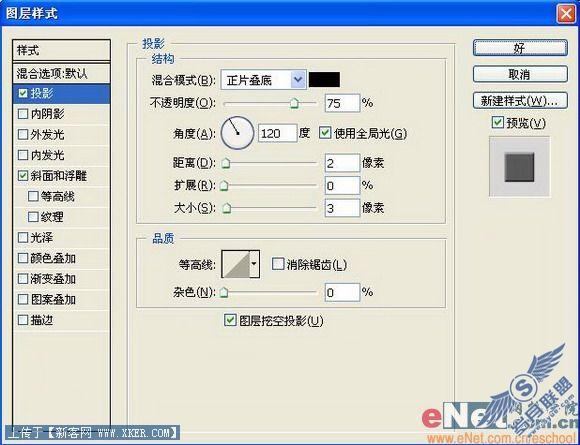
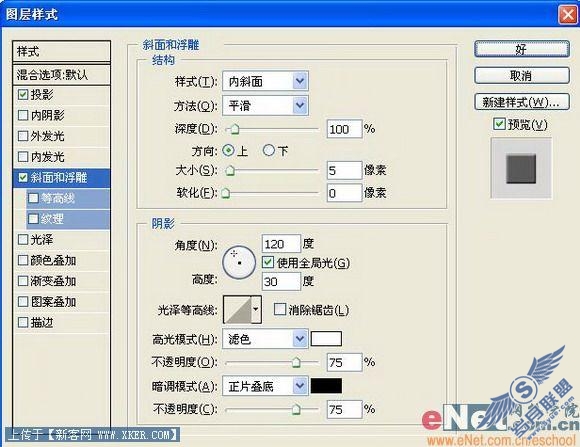
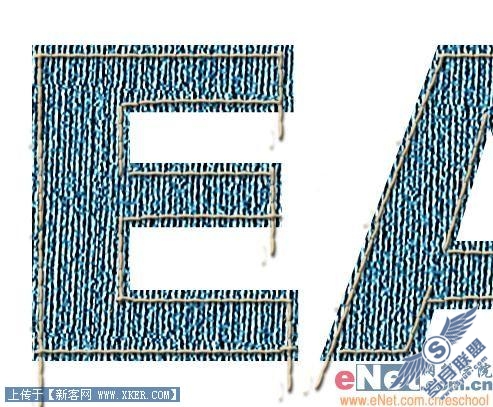
20、双击图层4,弹出图层样式对话框,勾选投影和斜面和浮雕样式,设置参数如图30、31所示,图像效果如图32所示。
21、新建图层5,选择工具箱中的“画笔工具”,设置画笔为“喷枪钢笔不透明描边”,设置景色为深蓝色进行绘制,效果如图33所示。

22、选择工具箱中的“减淡工具”,在属性栏中设置画笔为喷枪钢笔不透明描边绘制磨损效果,如图34所示。

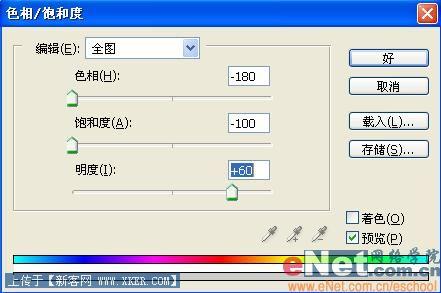
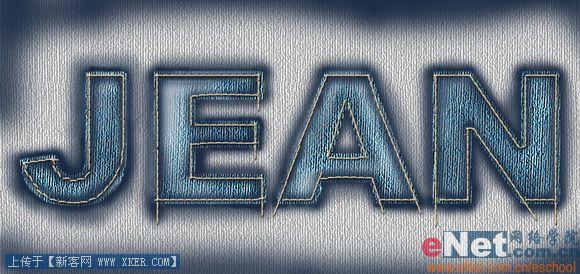
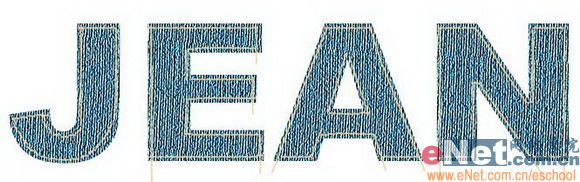
23、选择图层3,按Ctrl+U键打开色相/饱和度对话框,设置如图35所示,最终效果如图36所示。