用3DMAX再现复活岛神秘巨型石像
来源:岁月联盟
时间:2007-05-29
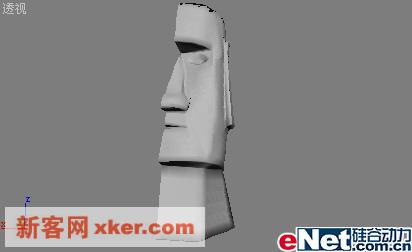
最终效果图:

制作工具:3DMAX8.0中文版
制作过程:
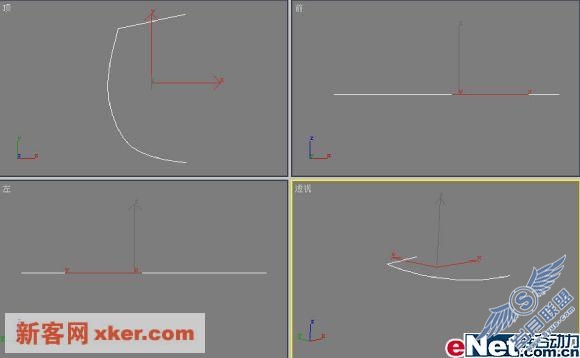
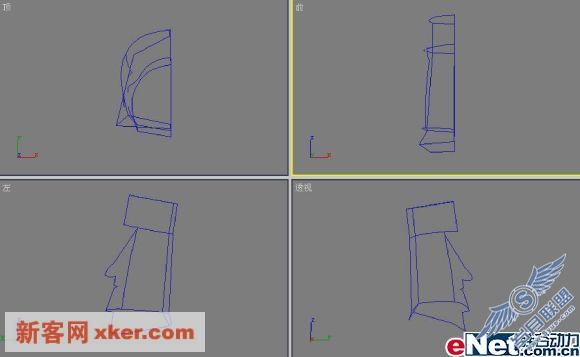
1、进入图形创建面板,单击“线”按钮,在顶视图中单击鼠标左键逐点绘制出一段曲线,并在各个视图中调整曲线,效果如图01所示。
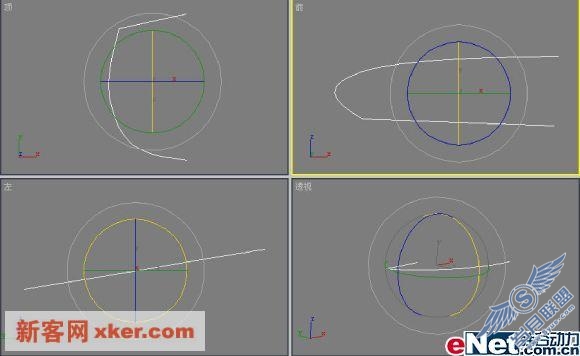
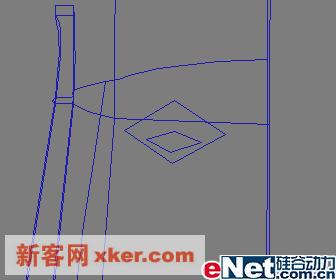
3、使用相同的方法创建另外两段曲线,并调整位置如图03所示。

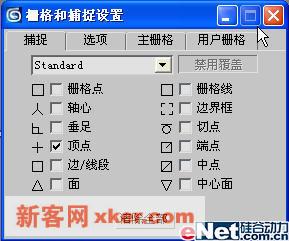
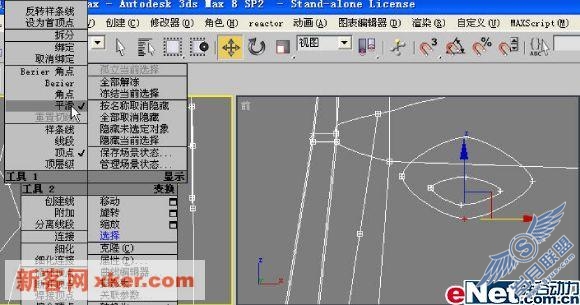
4、将鼠标移动到工具栏中的“捕捉开关”按钮上面,单击鼠标右键,在弹出的“栅格和捕捉设置”对话框中选择“顶点”捕捉方式,如图04所示,设置完毕后关闭该对话框。
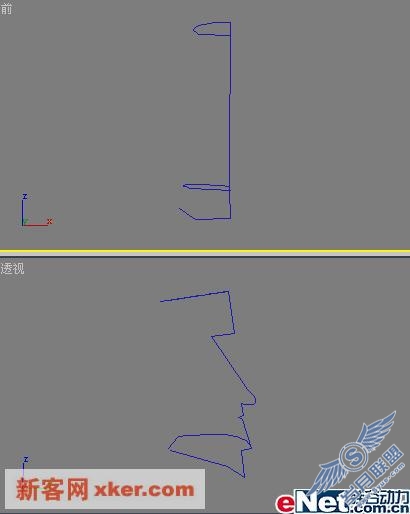
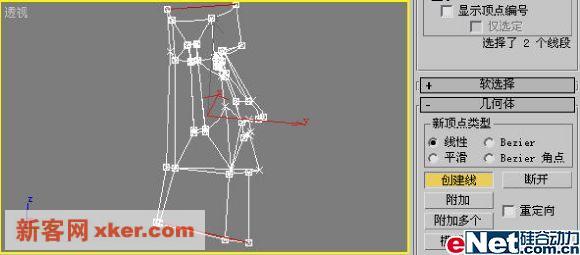
5、按下键盘上的S键打开捕捉开关,进入图形创建面板,单击“线”按钮,在顶视图中单击鼠标左键分别捕捉3段曲线,逐点绘制出石像的侧面,效果如图05所示。
6、继续使用捕捉方式创建曲线,效果如图06所示。
7、绘制石像的耳朵,单击创建面板的“线”按钮在左视图中创建一段接近长方形的曲线,然后进入修改命令面板,再单击“选择”卷展栏中的“顶点”按钮,进入线段的“顶点”子对象层级,分别选择曲线上的顶点,使用工具栏上的“选择并移动”按钮在各个视图中调整各个曲线的位置,效果如图07所示。
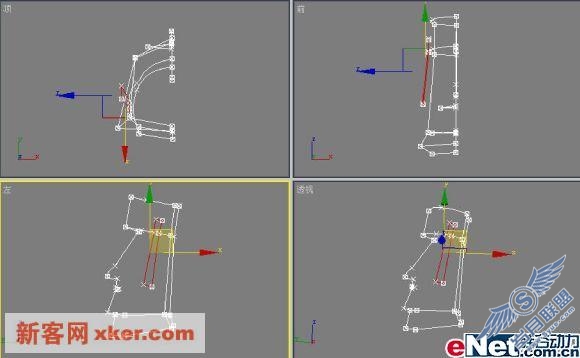
9、将耳朵连接到头像上,选择在头像上与耳朵相近的线,然后单击右键在弹出的菜单中选择“细化”命令,在线上增加两个点。选择钢增加点的线,然后进入修改命令面板,再单击“线段”按钮,进入线段子对象层级,选择两点之间的线段按Delete键删除中间的线段。单击顶点按钮,进入顶点子对象层级,单击工具栏上的“选择并移动”并打开捕捉开关,将分离出来的两个点移到耳朵上面。效果如图09所示。
10、选择耳朵曲线,进入修改命令面板,单击几何体卷展栏中的“附加多个”按钮,在列表中选择“全部”,讲其他曲线一起选择,然后单击“附加”按钮,将视图中所有曲线结合到同一个“可编辑样条线”中。
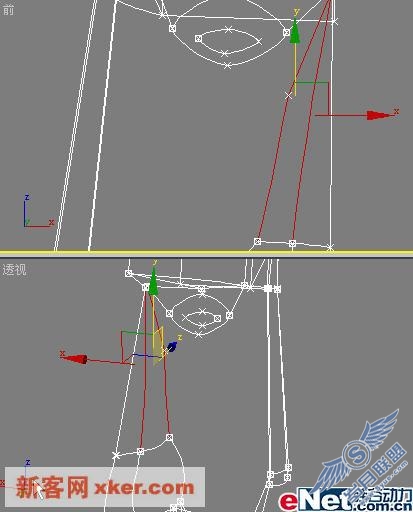
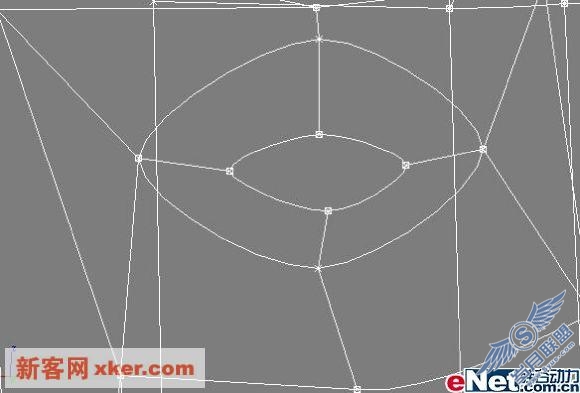
11、创建石像眼睛,单击前视图并按Alt+W键将前视图最大化显示,单击图形面板下的“线”按钮在石像的眼睛位置创建曲线,效果如图10所示。
13、单击工具栏中的“选择并移动”按钮,调整其位置,如图12所示。
14、使用“线”工具在嘴巴的位置创建3根曲线,单击工具栏中的“选择并移动”按钮并打开捕捉开关,将刚才创建的3根嘴巴曲线移动到石像框架的正确位置,如图13所示。

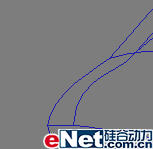
15、使用相同的方法创建鼻子,如图14所示。
17、调整鼻头处的曲线,效果如图16所示。
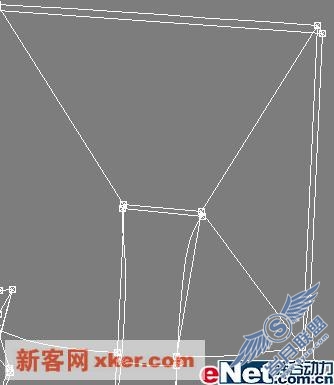
18、下面在耳朵、眼睛、鼻子、嘴巴等细节处增加曲线,将他们和头像完整的结合在一起。先将所有曲线附加成一个整体,选择石像框架曲线,单击修改按钮,单击几何体卷展栏中的“附加多个”按钮,在列表中选择全部按钮,将其他曲线一起选择,然后单击附加按钮,将视图中的所有曲线结合到同一个“可编辑样条线”中。
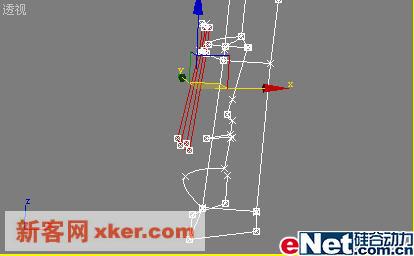
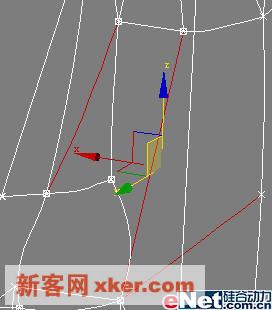
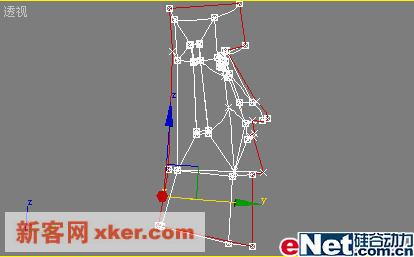
19、激活透视图,选择框架曲线,然后单击修改标签,单击选择卷展栏中的透视图中单击右键,在弹出的快捷菜单中选择“工具2”“创建线”命令,按下键盘上的S键打开捕捉开关,在耳朵与框架间创建4根曲线,并将他们的位置调节,如图17和18所示。
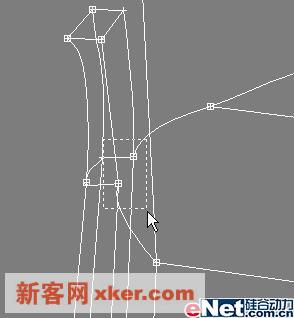
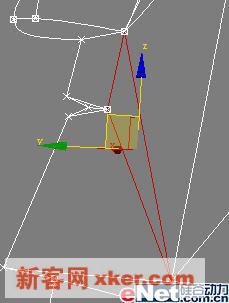
21、选择曲线框架,单击修改标签,单击选择卷展栏中的“顶点”按钮,进入线段的顶点子对象层级,在透视图中单击右键,在弹出的快捷菜单中选择“工具2”“创建线”命令,在石像脸一侧增加一个顶点,单击修改标签,在几何体卷展栏下面单击“创建线”按钮,然后按下键盘上的S键打开捕捉开关,在透视图中使用鼠标左键在眼睛周围创建曲线,使眼睛与头像连接为一个整体,创建曲线如图20所示。
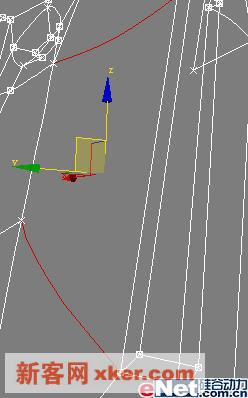
22、使用同样的方法连接鼻子与嘴巴,效果如图21所示。
23、完成耳朵、眼睛、鼻子的连线,用“创建线”工具并且按下键盘上的S键打开捕捉开关,创建曲线,如图22所示。
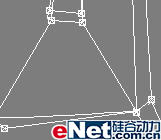
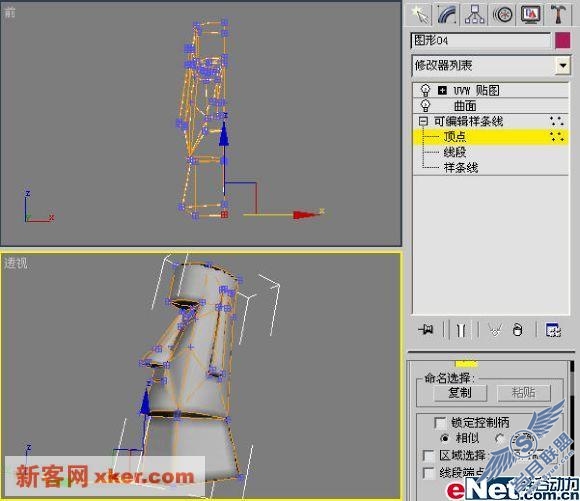
25、选择石像框架曲线,单击修改标签,单击选择卷展栏中的“顶点”按钮,进入线段的“顶点”子对象层级,再单击工具栏中的“选择并移动”和“捕捉开关”工具将复制出来的线段调整到正确位置,如图23所示。

26、使用上面同样的方法创建颈部的连线,效果如图24所示。
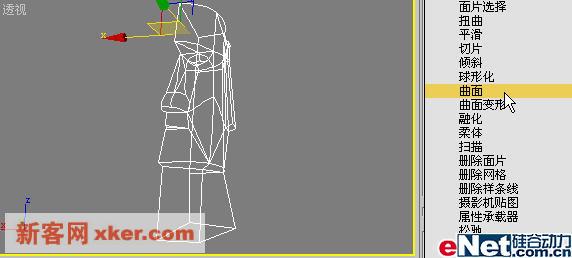
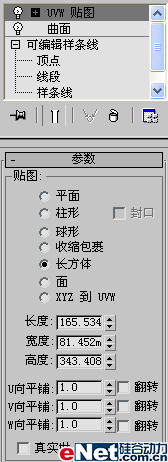
27、选择线框,进入修改面板,在修改器列表中选择“曲面”修改器,将线框转化为曲面,如图25-26所示。

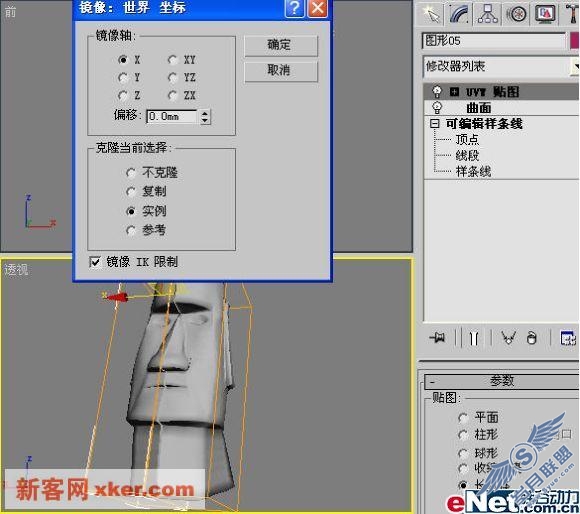
29、使用工具栏中的“镜像”工具复制出头像的另一边,如图30所示。
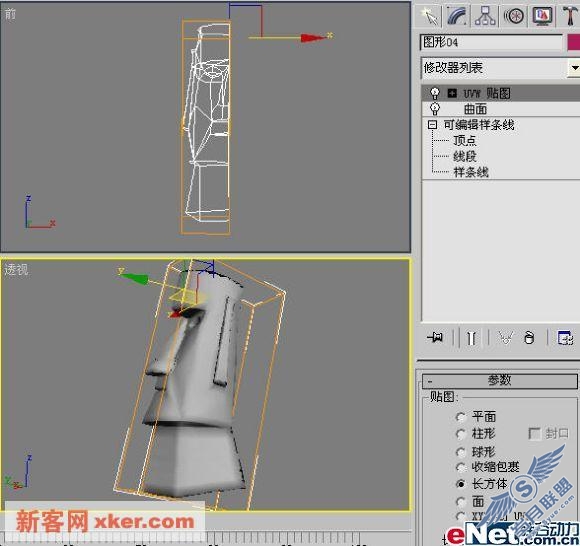
31、调整完后,就可以将两边石像合并为同一个曲面,先将一边删除,然后选择剩下的半边石像单击修改标签,进入修改面板,在修改器列表框中将已经增加的UVW贴图、曲面、修改器删除,如图32所示。
32、使用上面的方法分别连接头像顶部和底部的曲线,如图33所示。
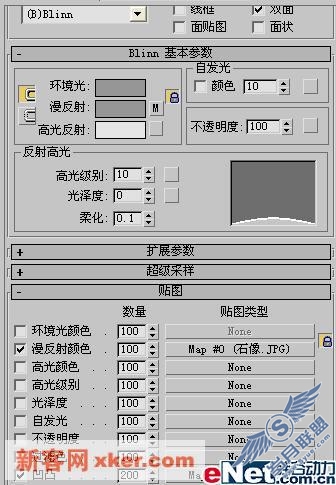
34、使用工具栏中的“选择并移动”和“捕捉开关”工具,将两边线框对齐,选择其中一边线框单击修改标签,单击几何体卷展栏中的附加按钮,在透视图中把另一边线框结合到同一个“可编辑样条线”中,完成流程图“镜像复制”操作,并赋予材质,添加灯光,最终渲染效果如图35所示。
下一篇:用3DMAX来制作一只逼真的牙膏
