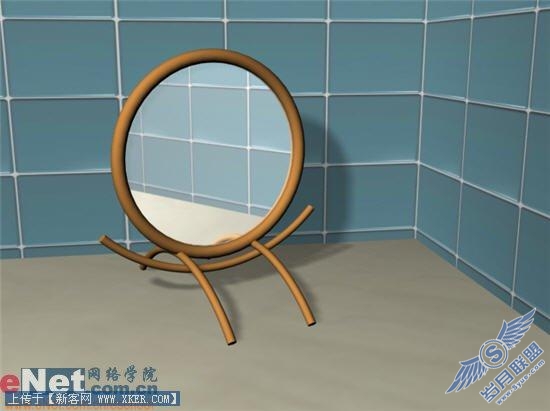
用3DS MAX制作简单的浴室木镜效果
来源:岁月联盟
时间:2008-04-27
一、绘制镜子
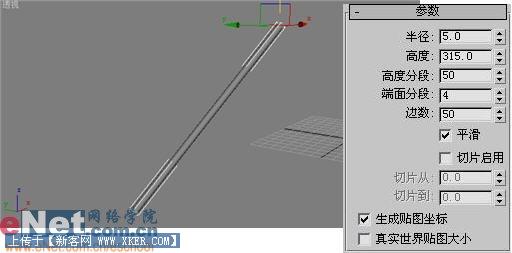
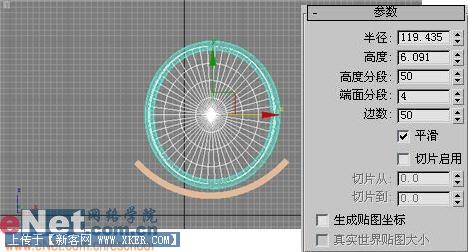
1、启动3dmax9.0,单击“创建”命令面板,点击“几何体”按钮,在下拉列表框中选择“标准基本体”项。单击“圆柱体”按钮,在视图中拖放出一个圆柱体cylinder01,并修改其参数。如图1所示。
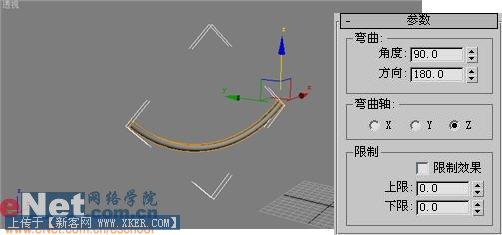
2、选中cylinder01,进入“修改”命令面板,在“修改器列表”下拉框中选择“bend”项,进行弯曲处理,修改其参数,效果如图2所示。
4、在“几何体”创建面板中,点击“圆柱体”按钮,在视图中绘制一圆柱体cylinder02,并适当调整其位置,如图4所示。
5、将cylinder01进行复制,得到cylinder03、cylinder04,并调整它们的位置,如图5所示。
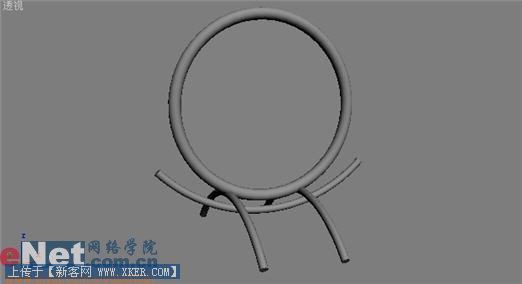
小提示:选中物体,按住shift键不放,用鼠标在视图中拖动物体便可以将选择物体进行复制。另外,单击工具栏上的“选择并旋转”按钮,在视图中便会出现坐标轴方向的旋转路径,将鼠标移动到路径上,即可实现拖拽旋转。
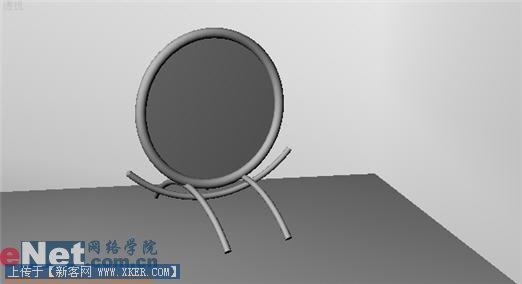
6、为场景中添加背景及平面,如图6所示。
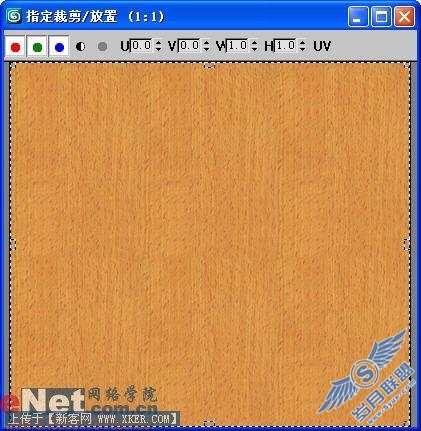
1、点击工具栏上的“材质编辑器”按钮,打开其面板,选择第一个样球,单击“漫反射”后的“none”按钮,打开“材质/贴图浏览器”面板,选择“新建”单选项,然后在左边列表中双击“位图”贴图,为其指定一图片,如图7所示。
2、将该材质赋予cylinder01、cylinder03、cylinder04、torus01。
3、选择第二个样球,打开“贴图”卷展栏,单击“反射”后面的none按钮,打开“材质/贴图浏览器”面板,选择“新建”单选项,然后在左边列表中双击“平面镜”贴图,并将该材质赋予cylinder02,如图8所示。
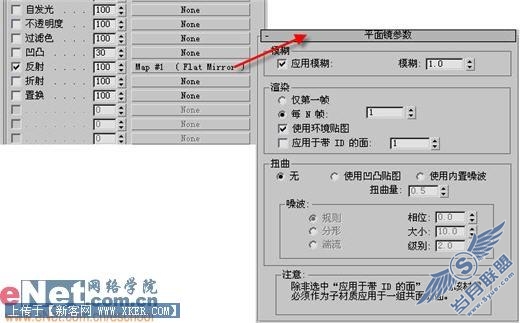
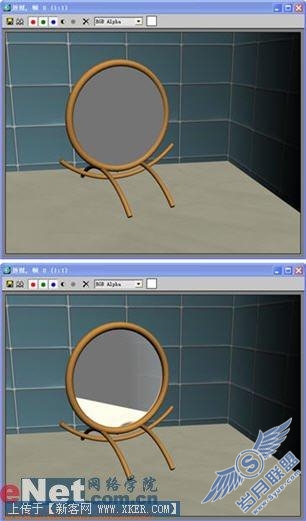
小提示:平面镜只可用在反射贴图中,如果渲染后没有看到反射效果,则可以通过选中cylinder02,单击“修改”面板中的下拉列表添加“法线”项,勾选“翻转法线”复选框,假如需要在背面也有镜面效果,则勾选“统一法线”。如图9所示。
5、最终点击“快速渲染”得到如图11所示效果。
