用3dmax制作简单的波浪文字效果
来源:岁月联盟
时间:2008-06-27

一、绘制场景
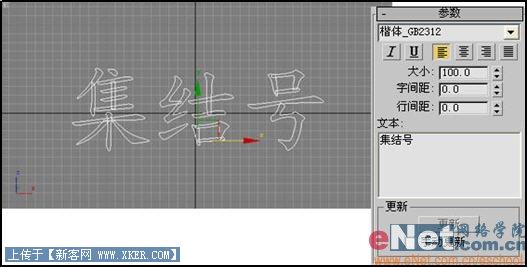
1、启动3dmax9.0,单击“创建”命令面板,点击“图形”创建面板,点击“文本”按钮。在前视图中绘制一文字Text01,并适当调整其大小等参数,如图1所示。
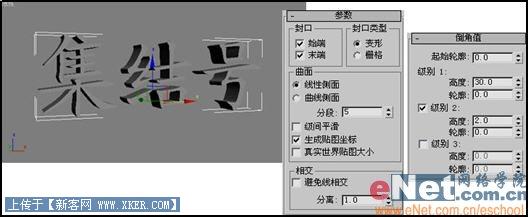
2、点击“修改”命令面板,点击“修改器列表”下拉框中的“倒角”项,打开其参数进行定义,如图2所示。
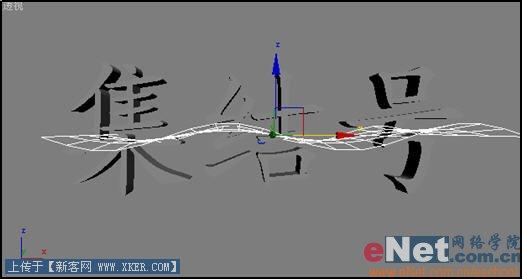
4、选中Text01,单击工具栏上的“绑定到空间扭曲”按钮,然后选择视图中的Wave01,此时文字就产生了波浪起伏的效果,如图4所示。
小提示:在选择Wave01时,既可以直接在视图中用鼠标单击选择,也可以按键盘上的H键弹出选择面板进行选择。5、选择Wave01,进入“修改”命令面板进行操作,修改其参数,如图5所示。
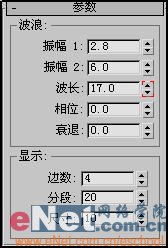
小提示:“振幅1”和“振幅2”值分别用来定义波浪中间和两边的振幅;“波长”值用来设定波浪的波长;“显示”栏中的参数用来设定波浪在视图中的显示模式,与最终渲染效果无关。
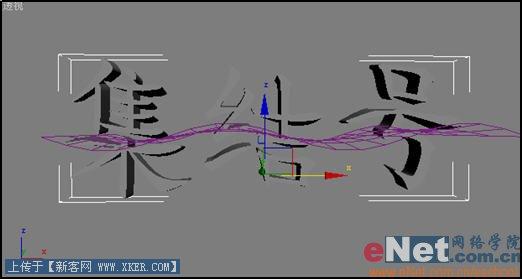
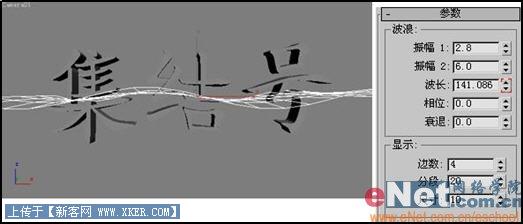
6、选中Wave01,单击动画区中的“自动关键点”按钮,拖动动画滑竿到第100帧处,调整其波长参数,如图6所示,随即再次点击“自动关键点”取消动画编辑状态。
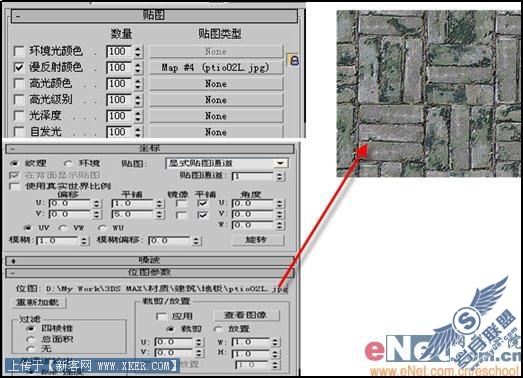
1、点击工具栏上的“材质编辑器”按钮,打开其面板,选择第一个样球,打开“贴图”卷展栏,单击“漫反射颜色”后的“none”按钮,打开“材质/贴图浏览器”面板,选择“新建”单选项,然后在左边列表中双击“位图”贴图,为其指定一图片,如图7所示,将此材质赋予Text01。
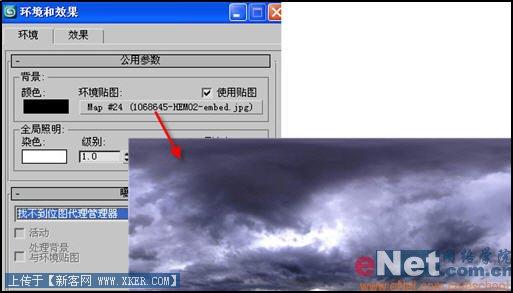
2、点击“渲染”菜单中的“环境”命令,打开其窗口,启用环境贴图,并为其指定一天空图片,如图8所示。
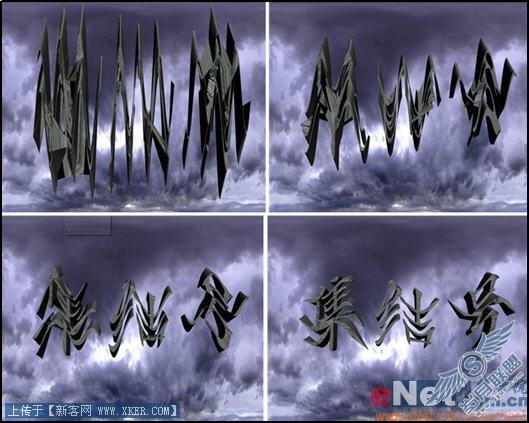
4、最终渲染完成动画,效果如图10所示。
上一篇:用3D造千纸鹤多边形建模(图)
